Our Location
5th Floor, Huake Center, Lanshan District, Linyi City, Shandong Province, China

5th Floor, Huake Center, Lanshan District, Linyi City, Shandong Province, China
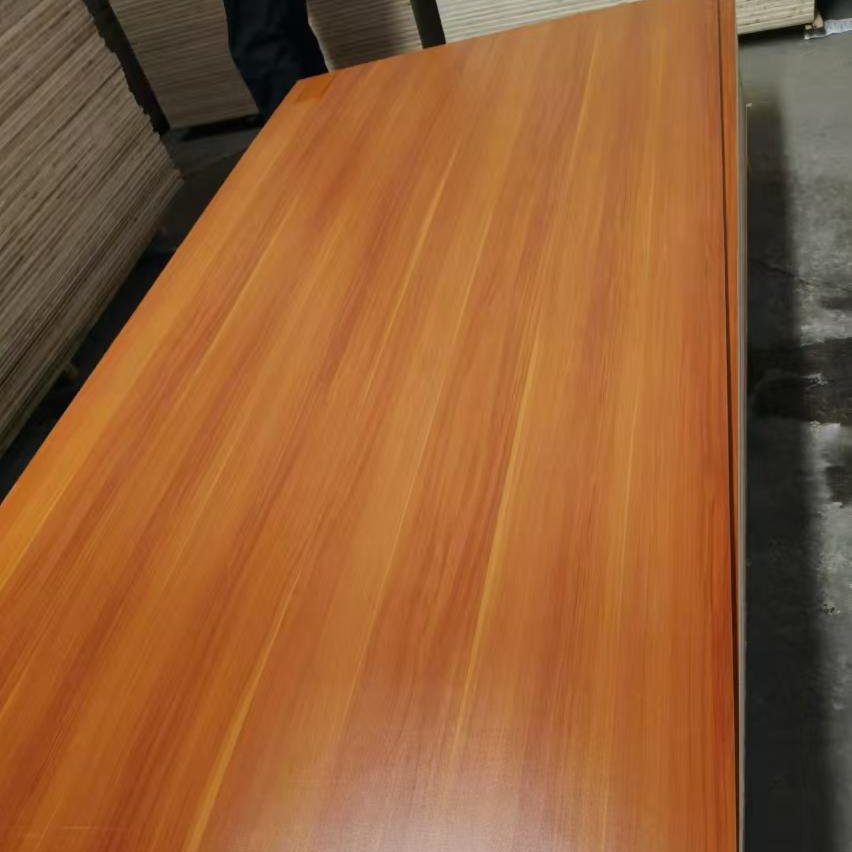
The construction of plywood turns a log into a flat, strong panel through a short list of precise steps: peeling, drying, grading, gluing, pressing, and finishing. Each stage decides a property the buyer later pays for, from veneer quality to the bond class and the sheet tolerance. This guide walks through the construction of plywood stage by stage, explains how the process shapes strength and moisture behavior, and shows what a purchasing team should confirm on the mill certificate before it signs the order.
The process starts at the log deck, where the mill grades each log for species, diameter, and defect level. Softwood logs often become structural panels, while premium hardwood logs head toward face veneer for furniture and joinery.
The mill cuts the log to length, then softens it in a hot-water bath or a steam chamber. Heat relaxes the wood so the knife can peel a continuous sheet without tearing the fibers.
A rotary lathe turns the log against a long knife and peels a thin, continuous ribbon of veneer. The operator sets the knife gap to the target thickness, and the ribbon feeds straight into a clipping line that trims defects and cuts standard sheet widths.
The veneer thickness decides the ply count. A structural panel may use 2.6 mm to 3.2 mm plies, while a furniture sheet uses thinner plies that build a smoother, denser face.
Fresh veneer carries too much water to glue, so the line sends every sheet to the dryer before it moves on. A sloppy peel shows as rough grain and a patchy face, and that fault follows the panel all the way to the customer.
Log quality also decides the panel grade. A clean, uniform log yields wide, consistent veneer, while a branchy log produces patches and plugs that show on the face, so the buyer pays partly for the logyard sorting that happens before the knife touches the wood.
Moisture control sits at the center of the construction of plywood. The dryer pulls each veneer sheet down to a target moisture range, usually between five and eight percent, so the glue bonds and the panel does not steam apart in the press.
A dryer that runs too hot scorches the surface and weakens the fibers, while a dryer that runs too cool leaves wet patches that reject the glue. The operator reads the moisture meter and the line speed together to hold the range.
Dry veneer moves to a grading station. Workers and scanners sort each sheet by grade, marking face, core, and back stock, and cutting out knots, splits, and decay.
Face veneer takes the highest grade, with a clean, even surface and a pleasing grain. Core veneer tolerates small defects and plugs, because the glue and the plies around it carry the load.
Grading also fixes the veneer count and the panel build. A dense lay-up with more plies raises stiffness and screw holding, and the mill records that build on the production sheet that travels with the batch.
Moisture evenness matters across the sheet, not just at the start. The dryer control chases a consistent endpoint, because a panel built from uneven veneer dries at different rates, and that imbalance shows later as a twist or a bow across the finished sheet.
Grading also protects the face quality for the buyer. A furniture face gets a clean, knot-free surface, and a structural face tolerates solid repairs, so the order line should name the face grade that matches the finish the job needs.
The glue line defines the panel class. The mill selects the resin before lay-up, and that choice sets how the finished sheet behaves near water, heat, and load.
| Glue class | Water resistance | Typical service |
|---|---|---|
| Urea formaldehyde | Interior only | Furniture, fitted panels |
| Melamine urea | Moisture resistant | Kitchens, bathrooms |
| Phenolic exterior | Weather resistant | Sheathing, forms, marine |
Lay-up follows the glue choice. Workers stack the veneer sheets so the grain of each layer crosses the one below, and they spread glue between every ply. The face and back carry the best sheets, and the core carries the structural stock.
The panel always uses an odd number of plies. An odd count puts a balanced sheet on both faces of the core, so the panel stays flat through pressing and through the moisture swings of service.
A glued stack moves to the press for a few minutes under heat and pressure. The heat cures the resin, and the pressure closes the glue line into a single bonded panel.
Lay-up mistakes show up later. A missing glue line, a flipped grain, or a wet patch creates a hidden void, and that void opens under load or moisture as a delamination the buyer finds at the worst time.
Lay-up order also protects screw grip and stiffness. The mill balances the plies around the core, and that balance distributes the load across each glue line, so the panel carries a point load and a long span without concentrating stress in one ply.
The hot press sets the final properties. The mill controls temperature, pressure, and time to cure the resin without crushing the wood or trapping steam inside the core.
After pressing, the panel cools on a stack and the glue line reaches full strength. The mill trims the rough edges to the exact length and width the order calls for.
Sanding smooths both faces to a consistent thickness and a clean surface. The sander removes the press marks and brings the sheet within the thickness tolerance the standard allows.
Finishing adds the market feature. A mill may bond a UV film, a paper overlay, or a melamine skin to the face, and each overlay changes the panel from a construction board into a furnished product.
The panel then meets inspection. The inspector checks thickness, squareness, glue bond, and face grade, and only the passing sheets receive the mill stamp and move to packing.
Trimming sets the straightness the sawyer relies on. The panel leaves the saw line square and true to the sheet size, and a rough or curved trim forces every cut to follow the panel error instead of the drawing.
Accuracy at finishing saves money downstream. A sheet pressed and sanded to a tight thickness machines with less waste and fits a dado or a router joint on the first pass, so the finishing tolerance buys production time at the customer shop.
Every stage leaves a signature on the finished sheet, so a buyer who understands the process can predict the panel from its certificate and its edge.
Watch for these links between process and property:
A buyer can trace most complaints back to one stage. Delamination points to drying or press control, a patchy face points to peel or grading, and a bowed sheet points to a moisture imbalance in lay-up.
For concrete and wet work, the construction of plywood matters most in the bond class. A phenolic exterior line keeps the panel together through wet cycling, and that bond lets the sheet return to the formwork stack for the next pour.
Specifiers who need a filmed form panel choose Film Faced Plywood, while general sheathing and joinery take Commercial Plywood.
Ask for the moisture content, the glue class, and the ply count on the test certificate, because those three numbers describe the process behind the panel better than any marketing claim.
Mill records put the process on paper. A good certificate lists the species, the veneer count, the glue class, the moisture content, and the test date, and that record lets a buyer audit the panel without visiting the floor.
These answers cover the process questions buyers raise most often when they audit a mill or compare two quotes.
An odd count balances the grain on both faces of the core. The balanced build keeps the sheet flat and stops the warping that an even stack would show as it responds to moisture.
The service location decides it. Interior furniture takes urea glue, humid rooms take melamine, and wet or exterior work takes phenolic exterior glue.
Yes. Thicker plies build a lighter panel with fewer glue lines, and thinner plies build a denser, smoother sheet, so the right choice follows the job.
A few minutes per batch, depending on glue, thickness, and temperature. The mill tunes the time to cure the resin fully without scorching the surface.
For commercial and residential projects where long-term performance matters, HYY offers engineered stone-coated metal roofing solutions backed by dedicated project support and export experience.