Our Location
5th Floor, Huake Center, Lanshan District, Linyi City, Shandong Province, China

5th Floor, Huake Center, Lanshan District, Linyi City, Shandong Province, China
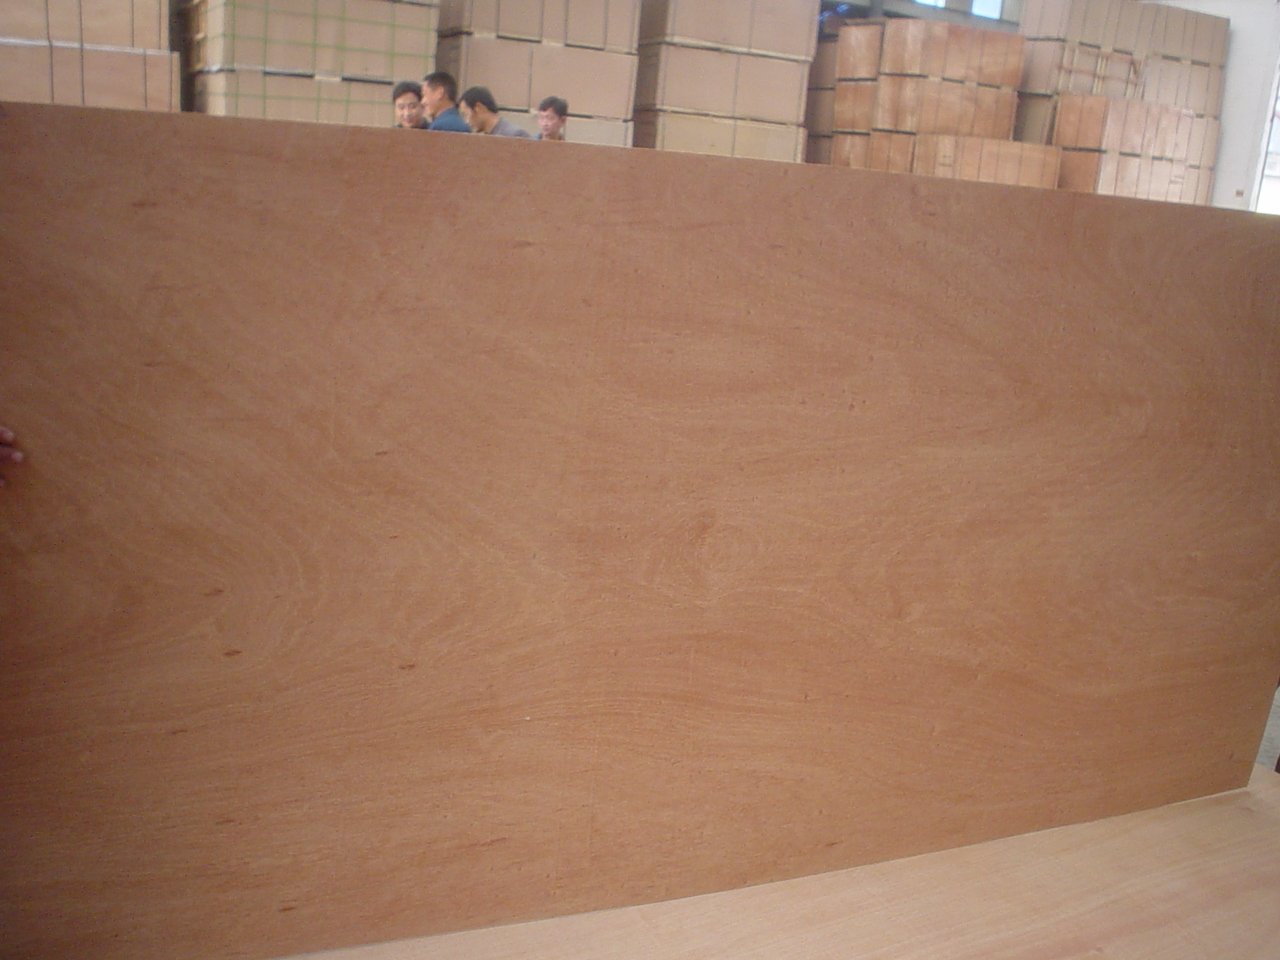
A plywood top desk turns one sheet into a work surface that stays flat, takes a vise, and costs a fraction of a solid timber top of the same size. The build runs through the choice of panel, the structure underneath, the edges and cable details, and the finish that survives daily elbows. This guide covers how to spec a plywood top desk for the room, which gauge and face carry the span, how the base and the top meet, and how to finish the sheet so it reads as furniture rather than a site panel.
The desk is also the most honest way to show the panel. A top that reveals its plied edge, wears a hard oil, and takes a decade of elbows argues for engineered wood better than any brochure.
Dimensions start from the user. A depth that clears the monitor and the notebook, a length that holds the equipment, and a height that suits the chair each narrow the sheet choice.
The build scales to the room. A wall-hung top needs no legs at all, and a standing desk frame takes the same panel that a pair of trestles carries.
Budget stays predictable. Sheet, frame hardware, edge treatment, and finish list out in four lines, and the plywood carries most of the cost and all of the look.
The top also decides what the desk can become. A surface that takes a mounted saw, a repair vice, or a sewing machine grows with the room instead of being replaced when the hobby changes.
The sheet spans wide. Crossed veneers resist the sag that a solid plank of the same thickness shows over a long unsupported run, and the desk stays level across its length.
Definition: a plywood top desk is a work table whose surface is a plywood panel, supported by a frame, trestles, or legs sized to the span and the load above.
The edge tells the truth. A sanded rim shows the plies in a clean band, and many builders keep that edge visible as the detail that says the top is engineered wood.
Weight stays practical. A top two people carry installs in an afternoon, and the structure below does not need the mass a hardwood slab asks for.
The surface takes hardware. A clamp at the edge, a mounted vice, and a screen arm all screw into the panel and hold, and the hole that ends its life fills and disappears.
Flatness arrives with the panel. A sheet stored and pressed correctly leaves the yard true, and a desk that starts flat stays that way once the supports level it.
The top takes a drafting attachment, a vice, and a clamp along its edge, and the plies hold each one where a thin laminate would crush under the jaw.
Damage reads as history rather than ruin. A scratch sands out, a ring refinishes, and a top that works hard comes back on the bench it was built on.
One finish suits the whole project. The same oil that feeds the top feeds a timber frame beside it, and the desk reads as one piece of furniture.
Thickness follows the unsupported distance. A short top on a full frame runs light, and a long desk that spans between two pedestals wants the gauge that keeps the middle true.
The face follows the room. A clear veneer under lacquer becomes the feature, and a plainer sheet under paint or linoleum keeps the money in the core where the eye never goes.
| Desk span | Top approach | Support |
|---|---|---|
| Short | Lighter sheet | Full frame or wall bracket |
| Mid | Mid gauge | Two ends plus a rail |
| Long | Heavier sheet | Three-point or central leg |
| Standing | Mid gauge | Frame that resists racking |
One sheet often covers the whole top. A standard panel trims to a generous desk with the offcut left as a shelf or a modesty panel behind the legs.
Grain runs along the length. The long face direction reads correctly across the working line and resists the bend the load applies between the supports.
Definition: sag is the mid-span drop a top takes under its own weight and load, and the support spacing removes it as surely as adding thickness does.
Sheets sized to the room reduce seams. A desk cut from a single panel carries one grain direction across the working line, and a joint that two sheets would need never appears.
The offcut becomes the accessory. A riser behind the monitor, a shelf under the top, or a cable shelf between the legs all nest from what the top leaves behind.
Face selection happens at the yard. The sheet picked in person shows the figure, the patches, and the tone that a photograph of the grade cannot.
The base decides the wobble. Legs bolted through the top into a rail, or a frame screwed to the underside, each hold differently, and a loose joint reads as movement at every keystroke.
Fixings allow movement. Slotted holes at the frame let the top expand and contract across its width, and a rigid screw line at both ends invites a cup.
Build the support in this order:
Cables plan with the frame. A tray under the top or a notch at the rear rail keeps the leads off the legs, and the grommet hole lands where the monitor sits.
The overhang matters at the knees. A top that projects past the frame gives the legs room and the user space, and the edge that meets the chair takes a rounded profile.
A cross rail stops the rack. Two end frames that tie together at the back keep the desk from parallelogramming when the user leans, and the rail hides behind a modesty panel.
Legs bolt through the top into threaded inserts. The insert turns the fastener into serviceable hardware, and a leg that comes off for a move goes back without stripping the panel.
The frame square decides the wobble. Two ends that sit parallel hold the top without a twist, and a frame assembled out of square passes the problem straight into the surface.
Feet adjust once. A level top on an uneven floor takes the adjustment at the base, and the final check with a spirit level runs both ways across the desk.
The front edge gets the most attention. A soft round-over takes the forearm comfortably, and the plies that show at that radius become the band that identifies the top.
Cable holes drill clean with a hole saw at low speed. A backer block under the cut stops the exit blowing out, and a grommet finishes the rim.
Sanding walks the grits. The face takes a medium paper to flatten, a fine paper to close, and the final pass runs with the grain where the finish will read.
Oil, lacquer, or poly each read differently. An oil leaves the wood close and matte, a lacquer builds faster, and a poly takes the coffee cup that finds every desk.
The underside finishes too. A sealed bottom keeps the panel balanced as the room changes humidity, and an unsealed side is how a good top ends up cupped.
The build sits on stock from the same yard. The top orders as Commercial Plywood in the face grade the room wants, and drawers under the desk take Melamine Plywood for a wipe-clean interior.
The technical desk at HYY checks the span against the gauge and the support layout, so the top that arrives stays flat under the load the drawing assumes.
The rear edge takes a gentler round-over. The back of a desk meets a wall or a hand in the dark, and a softer radius there avoids the bruise a sharp corner leaves.
Coasters and mats slow the finish wear. A hard-use zone at the mouse hand cures harder with a mat, and the re-coat years later needs only a key and a wipe.
These answers cover the desk questions that come up before the sheet is ordered.
Match it to the span. A short top runs light, a long span wants thickness or a rail underneath, and the support spacing does as much work as the gauge.
A sealed, balanced panel stays flat. Finish both sides, keep the supports allowing movement, and the crossed plies hold the surface through the seasons.
Sand through the grits, ease the edge, and apply the system you want to live with. Oil reads closest to the wood, and poly takes the daily abuse.
Not unless you want them hidden. The plied edge is the detail many builders keep, and a banding strip covers it only where a furniture face demands a solid line.