Our Location
5th Floor, Huake Center, Lanshan District, Linyi City, Shandong Province, China

5th Floor, Huake Center, Lanshan District, Linyi City, Shandong Province, China
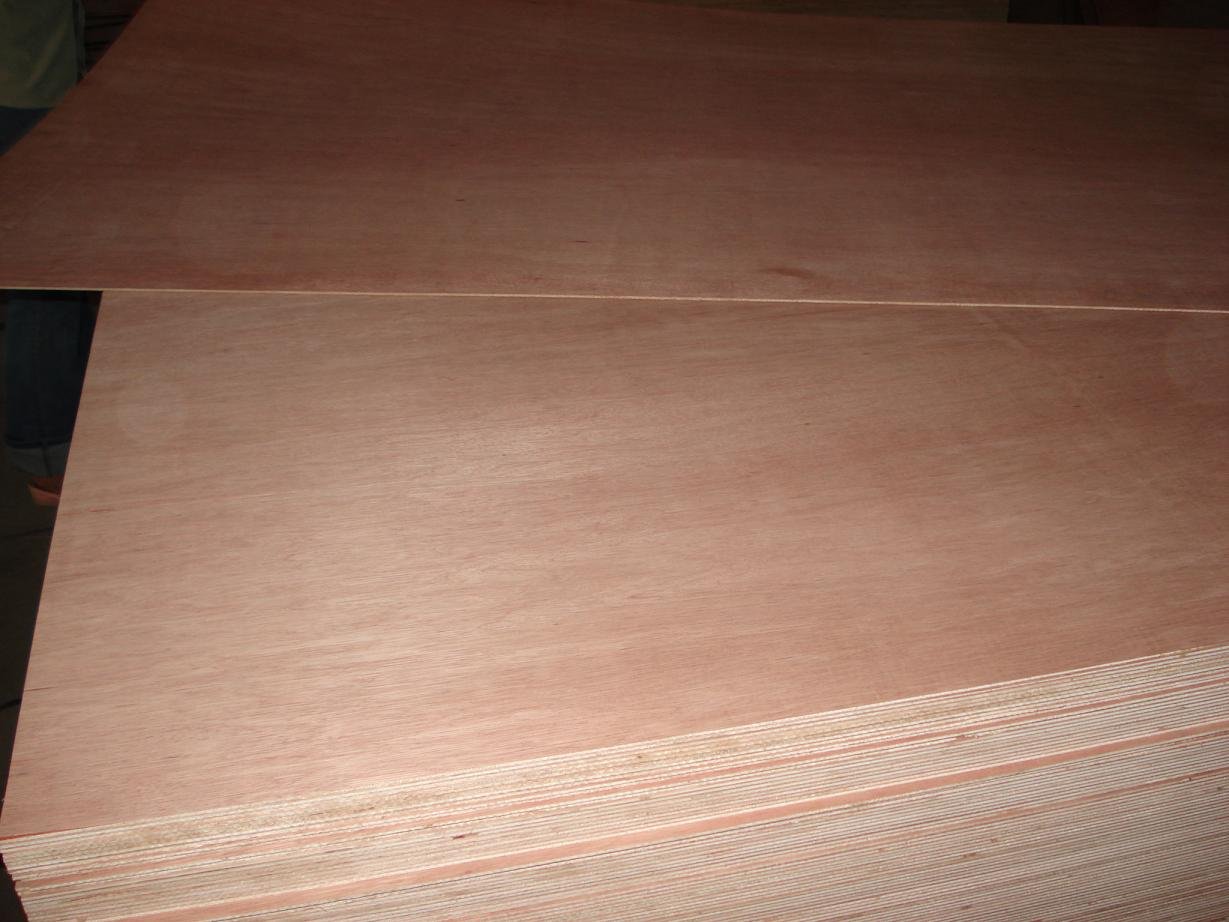
Building plywood drawers is one of the true tests of a cabinet shop, because the drawer box carries the load, slides a thousand times, and shows every mistake in how it sits and rides. Plywood gives the box the stiffness that a battens-and-dowel approach never reaches, and the joint, the slides, and the assembly order turn a flat panel into a drawer that pulls smooth and square. This guide covers the sheet, the joints, the runners, and the fitting line for a plywood drawer that lasts.
The sheet sets the stable foundation. A cabinet-grade hardwood plywood holds its dimension through humidity, so the front stays square and the slides stay true season after season.
Thickness follows the drawer. Light drawers run from a thinner sheet, while heavy drawers and their fixed and full-extension rails want the heavier panel, so the box thickness follows the load the drawer carries.
Both faces matter on the box. An interior with a dirty face returns to the drawer line, and a drawer front veneer bests the raw face, so the specification names the faces it will show.
Definition: building plywood drawers means making the drawer box from sheet plywood with shop joints and slides, so the panel builds stiffness into a box that keeps its square through the life of the carcass.
For the framed carcasses behind them, the same sheet runs the whole furniture build, and a shop often keeps Commercial Plywood on the bench for the utility boxes and the shop jigs.
A consistent gap reads as craftsmanship. The front overlaps the box and the carcass at the same margin around the run, and the route, not the ruler, decides where the face sits on every drawer.
Slides hidden under the box change the size math. An under-mount slide grips the box bottom and the carcass floor, and that rail geometry takes the sizing line with it.
The opening decides the box. Measure the seat width, the depth, and the height, then subtract the slide dimension and the clearances until the box fits the route without binding.
The slide spec takes real numbers. A side-mounted slide needs the box width, the gap column, and the rail mount, so the shop sizes the box after the slide catalog, not before.
Height and inner depth follow the contents. A tall box for tools and a shallow box for cutlery differ in the face height and the interior depth, and the carcase route follows the face the customer chose.
The drawer front overlaps in most furniture. The face panel is cut larger than the box and overlaid on the front, so the visible drawer is the face while the box carries the load.
A precise deduction closes the plan. Measure three openings, read the slide chart, and cut one box to the tightest line, since a box sized to the small route fits every seat in the run.
The dry fit also checks the slide. A drawer that racks in the dry fit will bind on the rail after the glue, so the box should slide free in the route before the clamps pull it square.
The jig sets the repeat. A drawer jig holds the dado bit and the box side at the same line, so a run of ten drawers comes off the bench at the same fit, and the face spacing reads even.
The corner joint carries the box. A drawer joint needs the shear strength to carry the load and the square geometry to keep the box riding straight on the slides.
Dadoes-and-glue give a strong, flat corner. The drawer sides dock into dadoed front and back pieces, and long clamp pressure builds a box that squares up at the setting.
A dovetail joint trades time for strength. Pinned together, a dovetail drawer holds the load with the least follow-up, so some shops run dovetails on the sales line and dadoes on the utility line.
| Joint | Strength | Shop cost |
|---|---|---|
| Dado and glue | Strong | Low |
| Rabbit and glue | Strong | Low |
| Dovetail | Strongest | High |
| Staples only | Weak | Low |
Glue and joint work together. A clean glue line at the dado carries the corner, while a staple only holds the parts while the glue sets, so the jig and the clamp matter as much as the router bit.
Screw-tighteneed not appear in the box. Once the glue cures, the drawer holds, and a fastener line or a loose dollop only risks a racking box, so the discipline is joint and clamp.
A drawer face that sits proud shows the mount. The rail height, the box width, and the face gap share the same millimetre budget, so the slide install reads like the front fitting stages all in one line.
The runner seats the box in the carcass. Measure the mount height, the slide length, and the box route, then set the rails level and parallel so every drawer pulls smooth.
Level and parallel decide the ride. A rail set a millimetre low drags on the box, and a twisted mount rack the drawer when the face pulls, so the installation steps stay level at every screw.
Install the carcass rails first. Set the left and right mounts at the same height, square to the front, and check with the straightedge, then the drawer box slides into the route without a fight.
The drawer-side members follow. Clip or screw the slide member to the box, keeping the line level and the front set, then trial the drawer before the face goes on.
Full-extension and standard routes differ. A full-extension rail demands exact fore-and-aft positioning, and the box should sit with the rail geometry according to the catalog, so the mounting instructions beat the habit on that line.
Furniture glue stays where it belongs. A brush line at the joint and a wipe at the seam keeps the box clean, and a crowded bead squeezes out onto the face and drags the finish.
The ride test should run a full load. Pack the drawer with the kitchen weight and pull across the route, because the slide ratio and the box stiffness answer the real load the drawer will carry.
Assembly starts with the dry fit. Place the joints, hold the box square, and confirm the slide route before the glue spreads, because a dry fit finds the shallow dado before the clamp cures.
Use three steps on the bench:
Squaring happens under pressure. Measure the diagonals while the glue sets, twist the box back to the equal line, and let the clamps hold that geometry through the cure.
Fitting the face on the machine. Clamp the face to the box, line the gaps, drill and countersink, then fasten through the front, so the overlay reads even across the run.
The last pass is the ride test. The drawer should pull without a grab, drop shut without a bounce, and take the full load without, the carcase carrying the weight for years. For shops that push the jig work and the banded lines, a Melamine Plywood sheet keeps the painted and the laminate carcass at the steady grade.
The technical desk at HYY confirms the cabinet grade and the faces on the sheet, so the drawer build starts from a panel that stays square under the clamps.
The runner needs a level rail line. A cabinet that stands plumb and a rail that sits level give the slide its straight ride, so the carcass framing and the slide install share the level line.
Shims close the carcass gap. A cabinet that stands out of square steals the box height, and a shimmed rail restores the parallel the slide ratio needs.
These answers cover the drawer questions that come up before the first box is cut.
Most cabinets run a medium box sheet for the walls and a heavier front panel. Heavy drawers step the thickness up, so the load decides the sheet.
Not for utility boxes. A dado-and-glue corner holds the load, and dovetails add the strongest line at more shop time, so the joint follows the drawer grade.
The slides are mounted uneven, or the box is out of square. Level the rails, square the box, and retest, since the ride follows the mount line first.
For wooden runners, yes, on a light box. A hardwood runner and a grooved side work, while heavier drawers want a bearing slide for the smooth pull.