Our Location
5th Floor, Huake Center, Lanshan District, Linyi City, Shandong Province, China

5th Floor, Huake Center, Lanshan District, Linyi City, Shandong Province, China
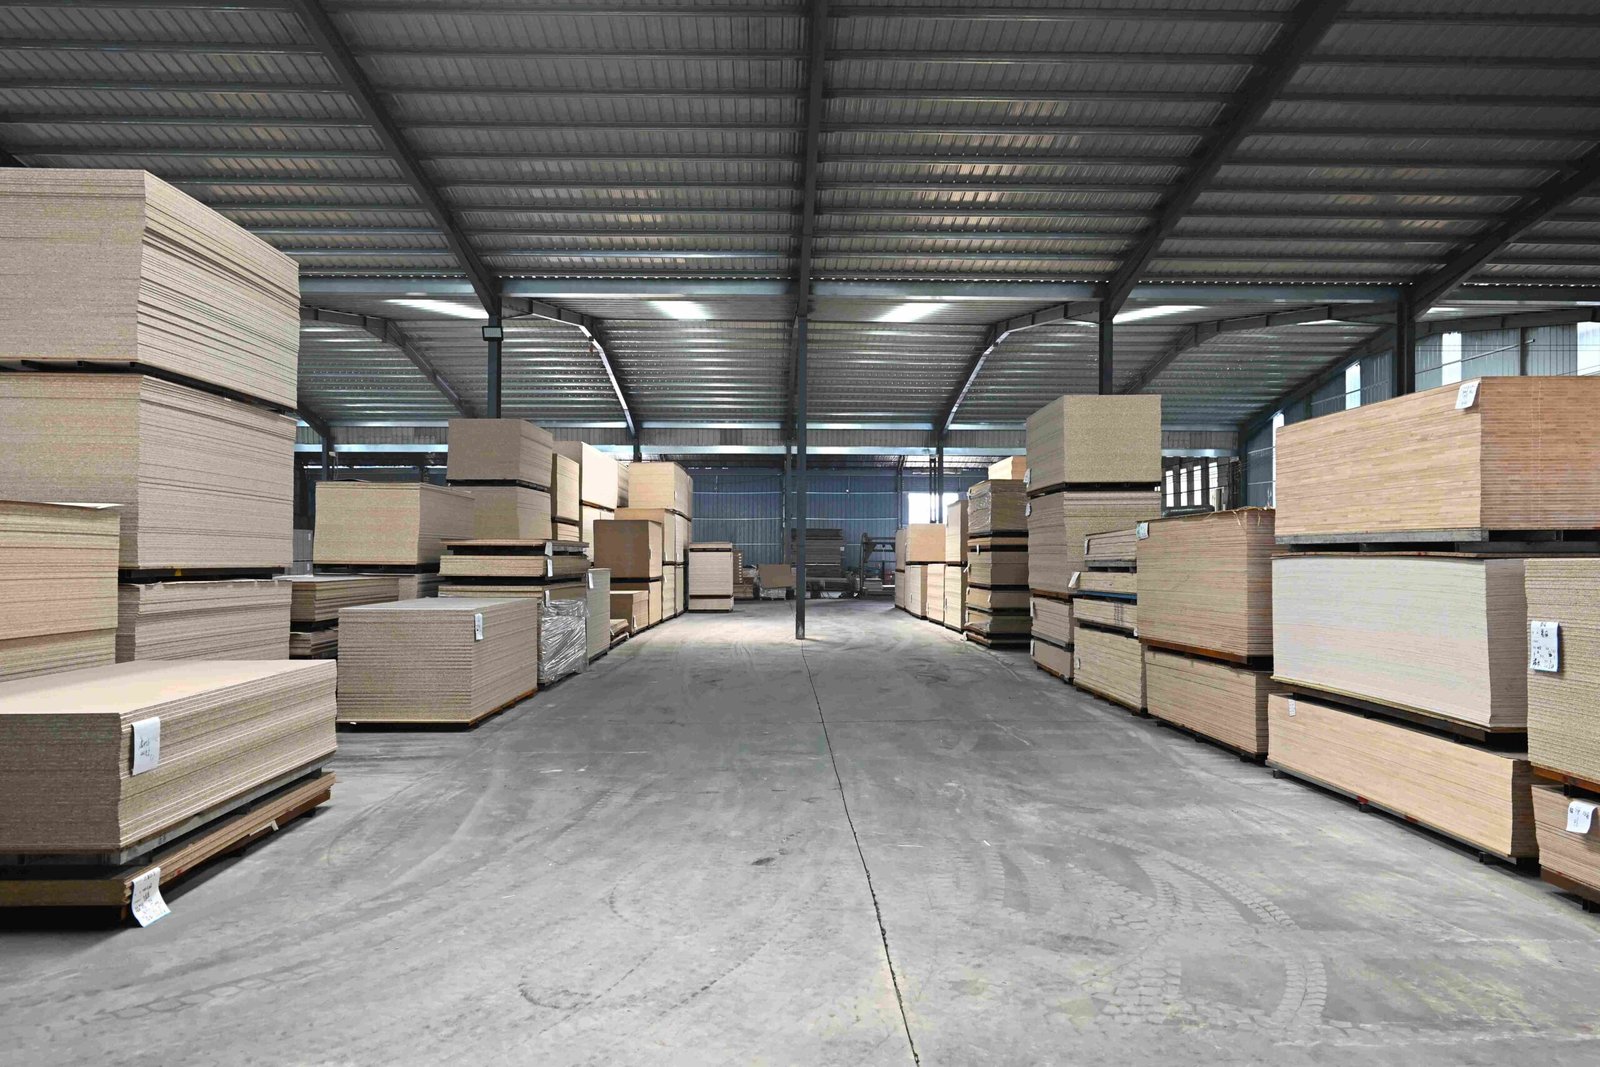
Plywood construction cabinets build a strong, light carcass from the sheet itself, and the crossed veneers hold a screw and stay flat where a particle board might sag. A shop that builds its plywood construction cabinets with a plan gets boxes that carry a shelf and take a door with ease. This guide explains why the sheet suits a cabinet, how to cut and join the boxes, the finish options, and the fitting that finishes the job.
A cabinet begins with the room. The height, the depth, and the clearances fix the box, and the sheet follows the plan.
Space for the drawers matters. A runner needs its depth, and a box that leaves room runs smooth from the first pull.
Measure the space twice. A wall that is out of square shows at the end of a run, and a scribe or a filler closes the gap the tape finds.
Decide the door style early. An overlay and an inset door change the box and the frame, and the choice fixes the size of every part.
The veneers hold a screw. A cabinet hangs on its fixings, and a plywood edge grips them where a particle edge crumbles.
Definition: a plywood construction cabinet is a carcass and door built from plywood panels cut and joined into a box.
The panel stays flat. A carcass that keeps its shape holds a drawer on line and a door that closes true.
The weight stays low. A plywood box lifts with less strain than a denser board, and the fitting on site is easier.
The sheet takes a finish. Painted, veneered, or edged, the panel becomes the visible surface as well as the frame.
The panel stays flat for a door. A carcass that holds its shape keeps the door line true, and the cabinet closes without a rub.
The veneers resist a knock. A shelf that takes a load keeps its edge, and a plywood box shrugs off the wear of a kitchen.
The sheet sizes well. A standard panel divides into carcass parts with a cut list, and the offcuts suit a drawer or a cleat.
The weight suits a shop. A light box moves on the bench and hangs on the wall with less strain.
A jig speeds the work. A spacer or a stop sets the joint the same on every box, and the run matches.
Start from a cut list. The list names each part and its panel, and the boxes come off the sheet with little waste.
Cut the sheet in one pass. A track saw or a table saw follows a straight line, and the parts stay square.
Join with a simple method. A butt joint with glue and screws, or a rebate, gives a strong box for the home shop.
Keep the grain and the face in mind. The good face turns to the room, and the parts align so the grain runs the same way.
Dry fit before the glue. A trial assembly shows the errors while the parts still move.
Work through a short checklist:
Read the sheet before the cut. A knot or a patch decides which part it becomes, and the good face goes to the front.
Break down the sheet on a table. A track saw and a straightedge give square parts, and the box goes together without a twist.
Number the parts as you cut. A mark that matches the cut list keeps the box straight on the bench.
Glue and screw in one go. A bead of glue with a fixing holds the joint, and the box stays square off the clamp.
A test door checks the box. A spare door on the first carcass shows the fit before the run goes ahead, and the size is right.
Band the edges. A wood or iron-on edge covers the veneer line, and the cabinet front reads as a solid piece.
Paint for a smooth front. A filled and sanded plywood takes a sprayed coat, and the edge wants sealing first.
Veneer for a warm look. A sliced face matches the joinery, and the door takes the same oil as the furniture.
Seal the whole box. A coat inside and out keeps moisture out, and it protects the panel in a kitchen or a bath.
Match the finish to the room. A humid room wants a sealed edge and a hard coat, and a dry living room takes a softer look.
Choose the edge before the finish. A band, a lipping, or a painted edge each suits a different look, and the choice comes first.
Prime the cut veneer. A sealer stops the grain drinking the paint, and the finish sits even across the panel.
Let each coat dry. A rushed coat traps a soft layer, and a door that dries between coats sands smooth.
Match the finish to the use. A hard kitchen wants a tough coat, and a bedroom cabinet takes a softer look.
Set the hinges with care. A euro hinge takes a cup and a plate, and the adjustment squares the door on the box.
Level the boxes first. A packer under a low corner squares the run, and the doors then hang true.
Fix to a stud or a batten. A cabinet hung on a solid fixing carries its load, and a wall fixing either finds the frame or uses a proper anchor.
Set the doors last. A door hung after the run is level closes without a rub.
The carcass panels order as Commercial Plywood, and a painted front comes from MDF Board.
The technical desk at HYY matches the panel and the thickness to the cabinet and the room.
Mark the studs before the hang. A cabinet finds a solid fixing, and the run stays true on the wall.
Set the boxes level and true. A packer squares the first box, and each one beside it follows the line.
Set the doors after the run. A door hung on a level box closes without a rub, and the gaps stay even.
Finish the plinth and the trim. A plinth hides the gap to the floor, and a trim closes the run to the wall.
Check the swing before you tighten. A door that clears the frame on a dry fit stays clear once the box is fixed.
Keep the panel moveable. A solid panel moves with the seasons, and a fixing that allows a little shift avoids a split.
Use the strong sheet for the frame. A shelf and a carcass side carry a load, and the crossed veneer holds it without a sag.
Use a smooth board for the face. A painted door suits a fine, even panel, and the finish comes up flat.
Band the exposed edges. A raw veneer edge reads as a line, and a band or a lipping closes it for good.
Seal the whole box. A coat inside and out keeps the humidity out, and the cabinet holds its shape in a kitchen or a bath.
Plan the offcuts. A clear offcut makes a drawer or a cleat, and the parts come from the same panel.
Keep a parts box. A labelled offcut makes a shelf or a cleat on the next cabinet, and the waste drops.
A finish sample helps. A test piece shows the tone before the whole run takes the coat, and the client sees the look.
Keep the carcass square. A box that is out of true shows at the doors, and a diagonal check catches it before the glue sets.
These answers cover the cabinet questions that come up before the build.
Yes. The crossed veneers hold a screw, stay flat, and take a finish, which suits a strong, light carcass.
A carcass usually takes 18 mm, and a back panel runs thinner. The shelf and the span set the final pick.
Yes. Fill and sand the face, seal the edges, and a sprayed or brushed coat gives a smooth finish.
For strength and screw hold, plywood leads, and for a smooth painted face, MDF can win, so a mixed build suits many jobs.