Our Location
5th Floor, Huake Center, Lanshan District, Linyi City, Shandong Province, China

5th Floor, Huake Center, Lanshan District, Linyi City, Shandong Province, China
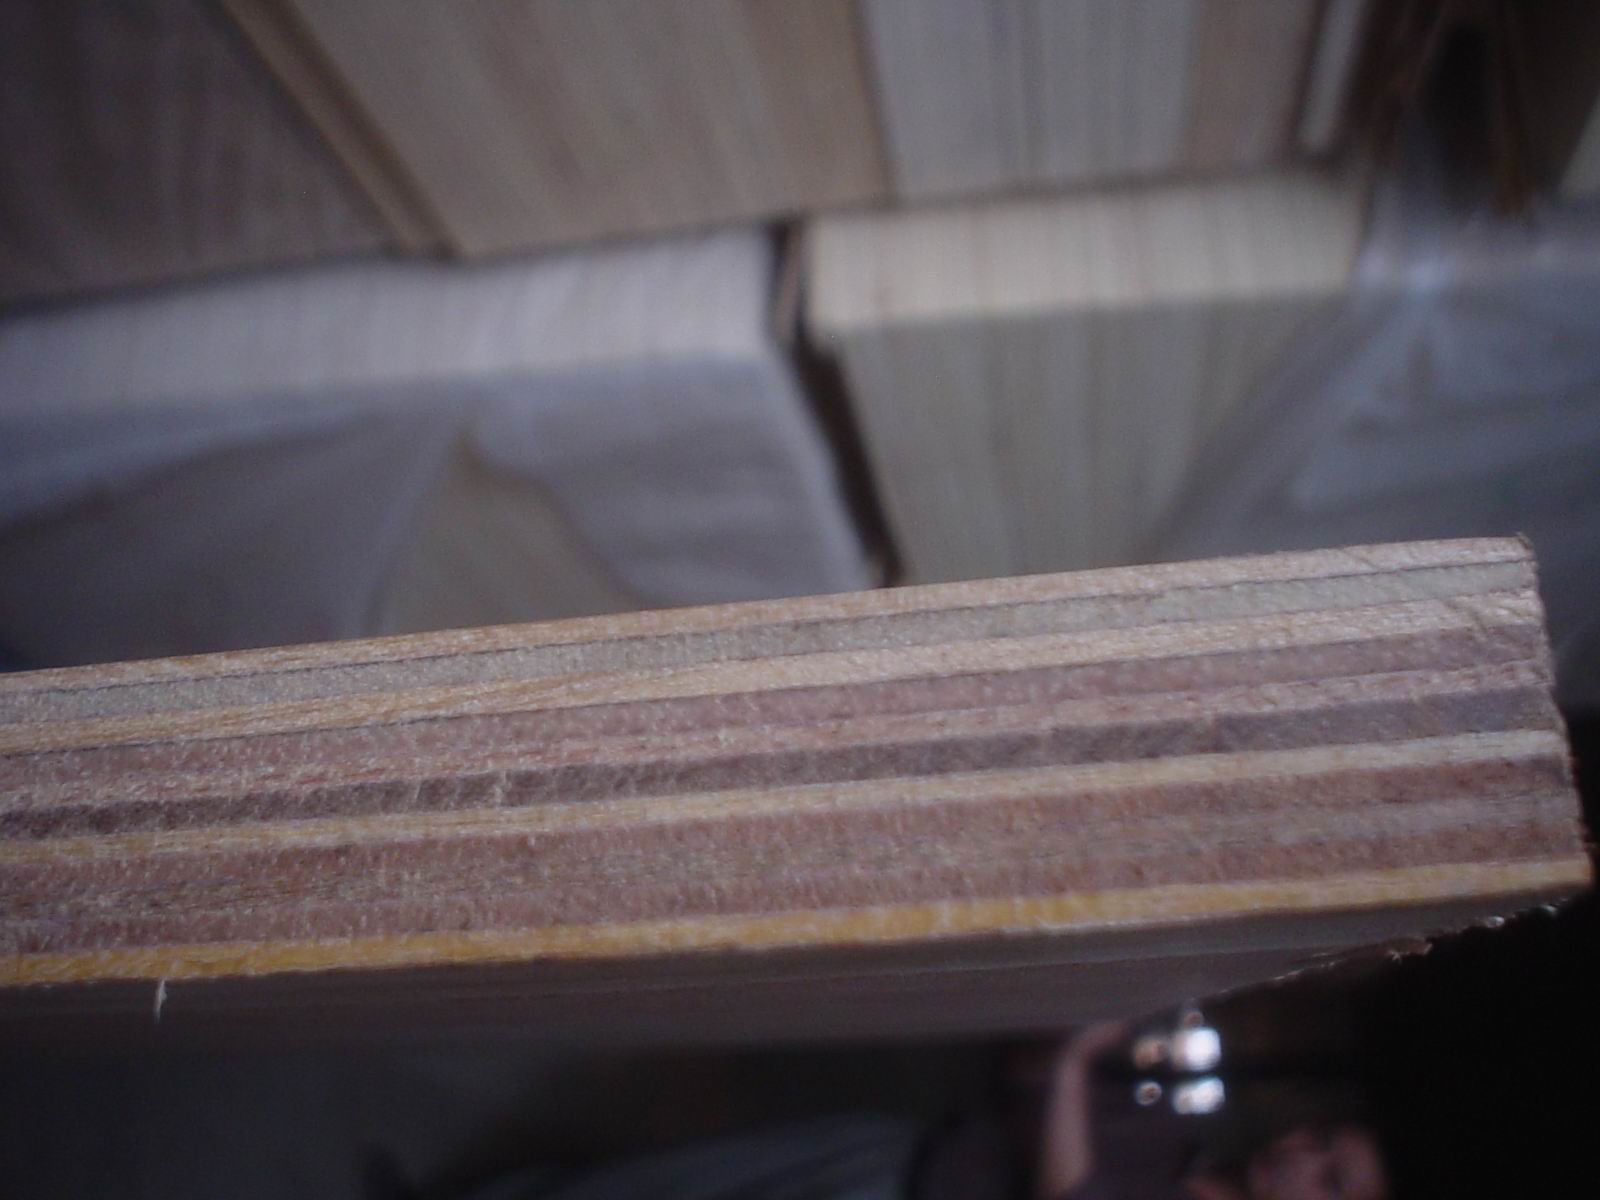
Building a plywood door gives a site crew a light, stable leaf that fits an odd opening without waiting on a mill order. The work runs through sheet choice, panel layout, joinery, hardware, and the final seal that keeps the board flat in a humid room. This guide follows the build from the cut list to the hanging, and explains where the plywood grade and the glue line decide how long the door holds its shape.
Plywood resists the twist that ruins a site door. The crossed plies hold the leaf flat through a season of humidity swings, while a solid board of the same size cups and drags on the frame.
Definition: a plywood door is a leaf built from a plywood panel, or a plywood skin over a framed core, that a carpenter cuts, seals, and hangs to the opening on site.
The weight helps the hardware. A plywood leaf loads the hinges less than a solid timber door, so standard hinges carry it without a sag, and the swing stays even over the years.
The panel sizes to the opening. A carpenter cuts the leaf to the rough frame, trims the reveal, and lands a door that fits an unusual opening with an even gap on every side.
The skin finishes the look. A sanded face takes paint, a film face wipes clean, and a matched veneer carries the grain, so the sheet choice sets the finish the room will wear.
The opening sets the leaf size. The carpenter measures the frame, adds the reveal on each side, and marks the sheet to that line, so the door lands with an even gap without a second trip to the saw. A door cut proud also trims later, which protects the first fit.
A moisture note follows the room. A bathroom door and a hall door take different bonds, and the builder writes the exposure next to the size on the cut list, so the yard ships a sheet with the right glue for that room. The note travels from the quote to the delivery.
The grade follows the room. A painted interior door wants a sanded face, a utility door takes a rougher sheet, and a wet entry needs an exterior bond that survives the weather.
| Door situation | Sheet choice | Why |
|---|---|---|
| Painted interior | Sanded, interior bond | Smooth paint face |
| Kitchen or bath | Moisture-resistant core | Holds flat in damp air |
| Exterior entry | Exterior-bond plywood | Survives rain and swing |
| Utility or store | Utility grade | Lowest cost, sturdy |
Thickness carries the leaf. A thin skin over a framed core keeps the weight down, and a solid plywood leaf of medium thickness suits a standard interior door without a frame.
Definition: the door core is the material inside the leaf that gives it stiffness and weight, and a framed, honeycombed, or solid plywood core each trades mass against strength.
The core picks up the screws. A dense core holds hinge screws firm, and a soft or open core needs a solid block at the hinge and the latch so the hardware grips real material.
The face grade changes the paint. A film-faced or melamine sheet ships sealed, and a bare sanded face soaks the first coat, so the buyer sets the finish line before the cut.
Grain direction runs the height of the leaf. A panel with the face grain vertical holds its line against the hinge pull, and a horizontal grain tends to bow across the width over time.
The cut order keeps the good face clean. The carpenter cuts the skin first with the best face up, trims the frame parts from the offcuts, and saves the smallest piece for the blocking at the latch.
The cut list comes first. The carpenter marks the leaf size, the frame rails, the hinge positions, and the latch line, then cuts the parts square to those marks.
A framed door stays flat. Rails and stiles around a light core tie the leaf together, and the frame carries the load that a thin skin alone would not hold at the edge.
Use these steps at the bench:
Glue backs up every fastener. A bead along the frame and a screw at each point bonds the skin into one stiff panel, and the joint holds through the swing cycles.
The reveal follows the frame. An even gap around the leaf lets the door swing without a rub, and the carpenter trims the edges until the reveal reads the same on every side.
A dry assembly catches the errors early. The parts clamp together without glue, the diagonals read, and the leaf meets the frame before any bond sets the mistake in place.
Scribe the leaf to a twisted frame. A scribe line taken from the hung frame lets the carpenter cut the true edge, and the door swings clear even where the opening sits out of square.
Hinge positions set the swing. The carpenter lines the hinges on the stile, mortises the leaf, and hangs the door so the weight sits across the hinges rather than on one point.
Screw grip depends on the core. A dense plywood or MDF core holds the screw threads, while a hollow core takes a solid hinge block so the fastener bites into real material.
The latch line comes from the frame. The carpenter marks the strike from the hung door, cuts the recess, and tests the swing so the latch meets the strike without a shove.
A hanging jig saves the second attempt. The jig holds the hinge line square to the edge, and a door that starts square lands with an even reveal on the first hang.
Weight checks the hardware before the finish. The carpenter swings the leaf several times and looks for a drop, because a hinge that sags now needs a block or a larger screw.
The hinge mortise depth decides the swing. A shallow mortise pulls the leaf against the frame, and a deep one opens the gap, so the chisel line follows the hinge thickness exactly.
Fill the screw holes before the paint. A dab of filler levels the head marks, and the top coat covers a smooth line instead of a ring around each screw.
The seal protects the edge. A bare cut edge drinks moisture first, and a coat of primer or a band locks the fibers so the leaf stays flat through a wet season.
The paint schedule follows the face. A sanded face wants primer and two coats, and a film or melamine face wants a scuff and a bonding coat before the color.
Wet rooms take a tougher line. A door near a sink or a shower carries a moisture-resistant board, and shops that need that grade can order MDF Board or Melamine Plywood for the skin and the core parts.
The technical desk at HYY confirms the bond class and the face for the door skin, so the leaf that leaves the shop matches the room it will hang in.
Care keeps the swing easy. A wipe on the face and a drop of oil on the hinge each season keeps the door quiet, and a rub mark on the edge tells the carpenter where the reveal needs a trim.
The hanging season matters. Timber moves with the weather, and a door hung in a dry week fits tight in a damp one, so the carpenter leaves the reveal a hair wider in winter.
A final check catches the rub. The carpenter runs a slip of paper around the reveal and marks any tight spot before the client sees the door.
These answers cover the door questions that come up before the first sheet reaches the saw.
A skin over a framed core runs thin, and a solid plywood leaf runs medium. The room, the size, and the hardware decide the final thickness on the plan.
Yes, on a sanded face with primer and two coats. A film or melamine face needs a scuff and a bonding coat first, and both finishes hold well on a sealed edge.
A crossed-ply leaf holds its shape better than a solid board. Moisture at an unsealed edge and a damp room still work on the panel, so the seal decides the flatness.
Screws grip a dense core or a solid hinge block. A hollow core needs a block at the hinge line, and a pilot hole keeps the plywood from splitting at the edge.