Our Location
5th Floor, Huake Center, Lanshan District, Linyi City, Shandong Province, China

5th Floor, Huake Center, Lanshan District, Linyi City, Shandong Province, China
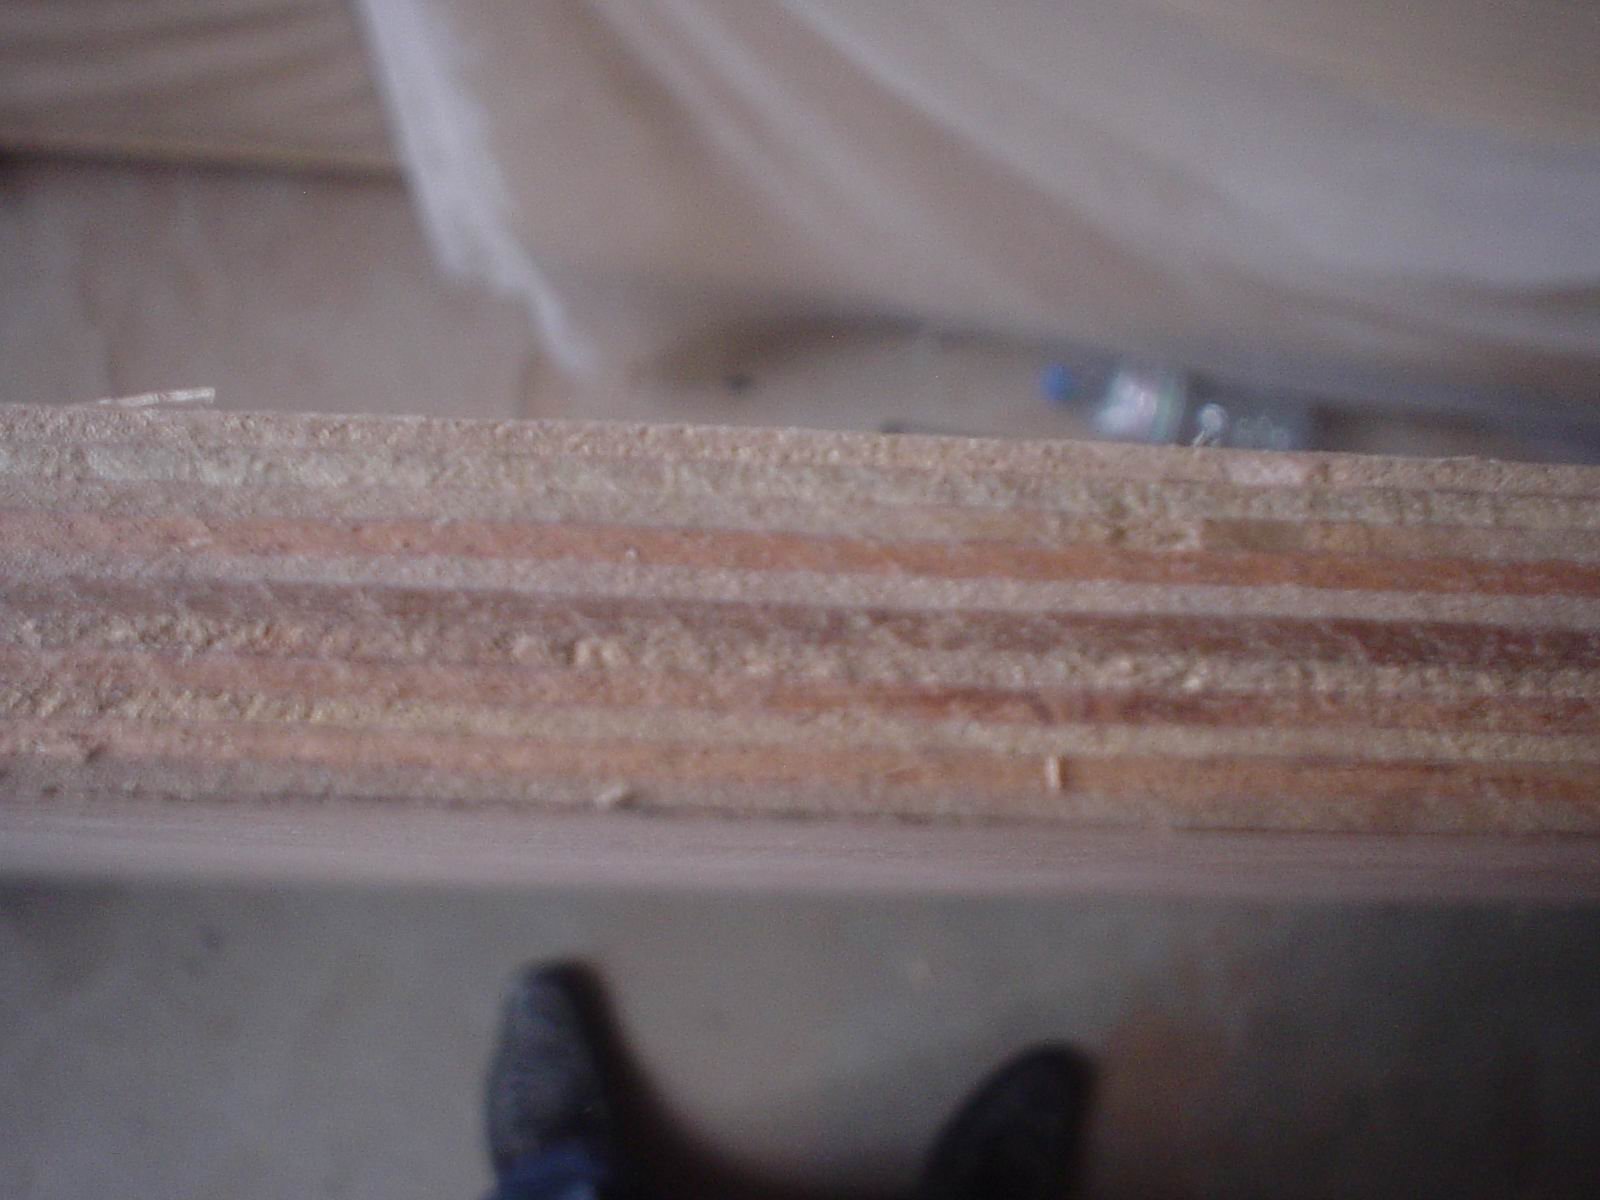
Building plywood kitchen cabinets puts the strongest common panel into the room that works hardest, and a run made from sheet stock outlasts particle board boxes at every hinge and bracket. The project moves through sheet choice, carcass joinery, the fitting of the run, and the doors that decide the look. This guide follows a plywood kitchen from the cut list to the worktop, and explains where the gauge, the bond, and the face decide how the cabinets behave after a decade of steam and hinges.
Cabinet-grade plywood differs from the structural sheet in one way the buyer can see: the face. A cabinet that shows inside the run takes an even, sanded veneer, and the carcass behind the doors can run a working grade without anyone knowing.
The calculator for the project stays simple: sheets, edging, hinges, and finish, with the plywood taking the largest share.
The room runs damp. Steam from the kettle and the pan reaches the cabinets daily, and a panel with an exterior or moisture-resistant line holds where a plain board swells.
Definition: a plywood kitchen cabinet is a carcass built from plywood panels, joined with dados, screws, or confirmat fasteners, and finished with doors, hinges, and drawers.
Hinges hold better in the plies. A screw driven across the veneers bites into layered wood, and the door that opens thousands of times stays tight at the mount.
The panel spans without a frame. A side that carries shelves and a worktop load stands on the plywood itself, and the box keeps its square through the install.
Repairs stay possible. A swollen base panel replaces in place, a shelf re-cuts, and the carcass that took water does not condemn the whole run the way a laminated board does.
Screw retention shows at the hinge plate. A screw that pulls in the plies holds through years of opening, and the same fastener in a swollen particle board edge tears out.
The kitchen also argues with the cheap panel at the base. Water finds the lowest cut, and a carcass that starts soft at the floor finishes the argument in one leak.
Thickness follows the part. Carcass sides want real depth for screws and shelf pins, and a door that stays flat takes a stable, well-matched panel rather than the lightest sheet.
The kitchen layout drives the cut list. Every unit states its width, height, and depth, and the list nests onto full sheets with the offcuts assigned to fillers and scribes.
| Part | Sheet approach | Note |
|---|---|---|
| Carcass sides | Stable mid gauge | Holds screws and pins |
| Base and top | Moisture-tolerant | Meets water first |
| Doors | Matched face | Reads flat when hung |
| Internal shelves | Same gauge as sides | Pin holes line up |
| Fillers and scribes | Offcut stock | Takes the wall out of true |
Grain runs vertically on the sides. A panel that carries its length up the cabinet reads correctly at the door line, and the shelf edges show a consistent band.
Buy one veneer pack across the run. Doors cut from matching sheets hold a tone, and a later top-up from another pack shifts the colour at one cabinet in the middle.
One spare sheet covers the odd mistake. A bad cut, a hidden void, or a re-worked scribe consumes it, and the second delivery costs more than the panel did.
Offcuts become the parts that never justify a full sheet. Fillers, drawer fronts, and the plinth cut from the remnants of the run, and the list assigns them before the saw starts.
Label every part as it comes off the sheet. A cabinet side marked with its unit and its partner saves the puzzle at assembly, where identical panels differ by one hole line.
Dados make the box honest. A groove cut across the side takes the base and the back, and the panel that seats in the dado cannot rack the carcass out of square.
Screw-and-glue builds work too. A bead on the joint plus screws at the spacing on the drawing holds the box, and the plug or the cap finishes the hole.
Build the boxes in this order:
The diagonal check decides everything. Two measurements across the open box tell square instantly, and a box that reads equal stays that way once the back goes on.
Shelf pins follow a line. A row of holes drilled on the press or the jig keeps every shelf level, and a row drilled by eye shows at the first adjustable shelf.
The back locks the shape. A thin panel set in a groove or screwed to the rear stiffens the box, and a box without its back wanders on the way to the wall.
Glue at every joint. The bead that squeezes from a dado or a screw line welds the box through the seasons, and a dry joint works loose under the daily load of a door.
Clamps pull the faces flush before the fastener lands. A joint held true while the screw starts sits flush at the end, and the plug line stays invisible under the finish.
The run starts at a level line. A chalk line across the wall gives every cabinet the same datum, and the units that hang on it finish level without shimming each one blind.
Scribes take the wall. Old walls wave, and a filler cut to the curve closes the line at the end where a square panel would leave a wedge of daylight.
The units tie together. Clamps pull the faces flush, and screws through the stiles lock the run so no cabinet hangs as an island on its own fixings.
Doors hang last and adjust patiently. Three screws per hinge move the leaf in two planes, and the reveal around each door reads even once the line is set.
The worktop waits for the run to prove. A top that lands on a level, secure line sits flat, and the silicone bead under it seals against a surface that does not move.
Level the run before the doors go on. A top line that reads true across the wall lets every reveal follow, and shimming one cabinet at a time keeps the whole run honest.
The worktop installer works from the line the cabinets establish, and the two trades that share that datum finish without a negotiation at the seam.
Edges that show get banded or solid-lipped. A lipped door edge takes knocks without exposing the plies, and a banded carcass end wipes clean at the counter line.
Seal every cut. The saw line at the base and the scribe at the wall drink first, and a coat on the fresh edge costs minutes against a swollen panel later.
Paint or lacquer follows the face. A sealed, sanded panel takes the system the room needs, and the door faces that customers touch cure hard enough for daily wipes.
The wet zone changes the spec. Under the sink and behind the tap, the panel takes the moisture-resistant line, and the base sits off the floor on a plinth.
The kitchen orders with its skins. Carcass stock runs as Commercial Plywood in the moisture-tolerant line, and visible shelves and liners take Melamine Plywood for a face that wipes clean.
The technical desk at HYY checks the cut list against the sheet sizes and states the bond class for the wet bases, so the run arrives square, matched, and ready to hang.
Touch-up lives with the kitchen. A filled screw hole and a colour-matched pen keep a repaired edge presentable, and the spare panel from the order makes the match honest.
Keep one labelled offcut from the run in the cupboard for exactly that day.
These answers cover the build questions that come up before the first sheet is cut.
A solid mid gauge for the carcass and a stable panel for the doors. The screw depth and the span set the sides, and the doors want a matched face that stays flat.
In the wet zones and at the hinges, yes. The plies hold screws through years of opening, and the edge at a cut takes water more gracefully than a fibre core.
Not with dados and a good back. A frameless plywood box stands square on its own joinery, and the doors mount directly to the sides that carry the hinges.
Moisture-tolerant panel, sealed edges, and a plinth that keeps the base off the floor. The three together handle the drips that a plain box would take in a season.