Our Location
5th Floor, Huake Center, Lanshan District, Linyi City, Shandong Province, China

5th Floor, Huake Center, Lanshan District, Linyi City, Shandong Province, China
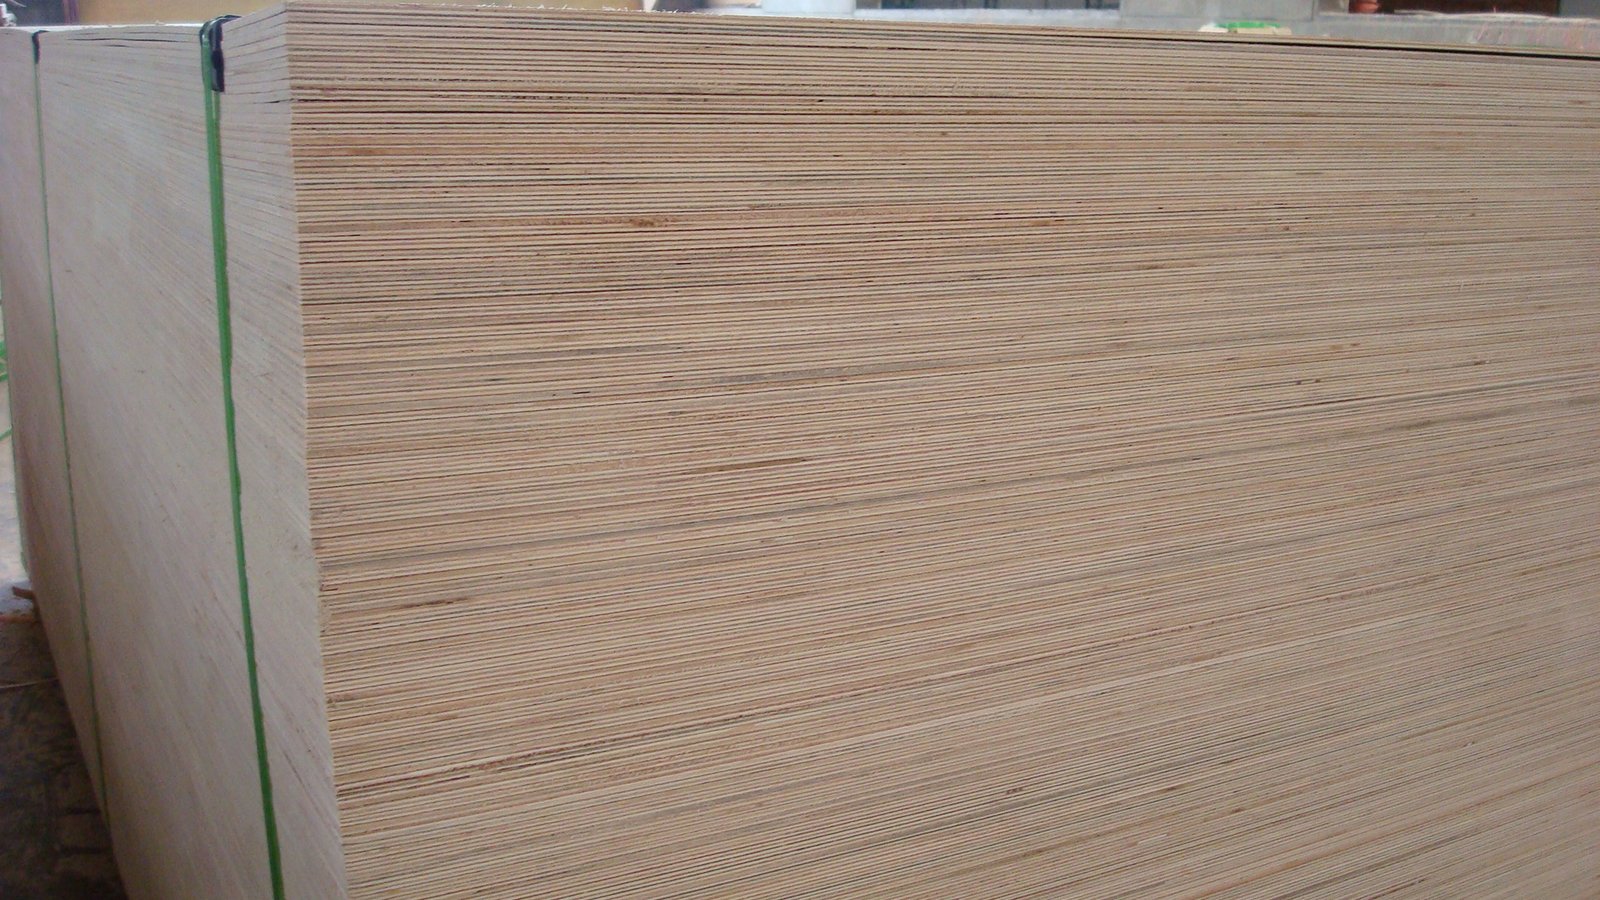
A plywood construction bathroom vanity suits the wet, humid room better than most ready-made cabinets, because the crossed veneers stay flat and hold a screw where a particle board swells. A vanity that a shop builds from a plywood construction bathroom vanity plan takes the splash, carries a counter, and keeps its doors true. This guide explains why the sheet suits a wet room, how to build and seal the box, the finish options, and the fitting that keeps the unit sound.
Plan around the pipework. The waste and the supplies want a route, and the box leaves the gaps before it closes.
A vanity needs airflow. A gap at the base and behind the unit lets the damp escape, and the wood stays sound.
A vanity is a fixture, not a fitting. It stays when the room is redecorated, so the box wants a build that lasts the life of the bathroom.
Plan for the counter before the box. A stone top wants a solid base, and the box takes the weight where the counter rests.
Keep the fixings corrosion-proof. A brass or a coated screw in a damp room lasts, and a plain steel one rusts and stains the panel.
The veneers resist a splash. A moisture-resistant plywood keeps its thickness and its face where a standard board swells at the edge.
Definition: a plywood construction bathroom vanity is a cabinet and counter base built from plywood panels, sealed for a humid room.
The box stays flat. A carcass that keeps its shape holds a drawer on line and a door that closes true over the years.
The weight lifts easily. A plywood unit moves and fits with less strain than a denser board.
The sheet takes a seal. Painted, veneered, or edged, a coated panel shrugs off the humid air of the room.
The room is humid, not flooded. A moisture-resistant sheet takes the steady damp, and a sealed edge keeps the core dry.
The veneers hold a fixing. A hinge and a runner screw into a plywood edge, and a cabinet that hangs true stays true.
The panel takes a seal. A painted or a veneered face closes the surface, and the humid air cannot reach the core.
The weight suits the wall. A light box hangs on a stud, and the counter and the basin load it without a strain.
Work to the basin. A counter and a bowl set the openings, and the box follows the fitting.
Start from a wet-room cut list. The list names each part, and a moisture-resistant panel goes into every piece.
Join with glue and screws. A butt joint or a rebate gives a strong box, and the glue seals the joint line.
Seal every cut edge. A paint or an edge band on the rim keeps moisture out, and the sealed edge protects the core near the basin.
Raise the box off the floor. A plinth or a leg keeps the base out of a spill, and the gap lets the floor dry.
Leave a service gap. A space behind the drawers lets a pipe run, and a panel keeps the pipe off the wood.
Follow a sealing checklist:
Cut from one panel where you can. A box from a single sheet matches in grain and thickness, and the parts align.
Join wet-room parts with glue. A glued and screwed joint seals as it holds, and a rebate adds a shoulder for the load.
Drill for the pipes, then seal. A hole under the basin takes a grommet or a seal, and the water stays off the core.
Raise the frame off the floor. A plinth keeps the base out of a spill, and a leg lets the floor dry.
A wet room hides less. A paint or a band reads on every edge, and the neat job shows.
Match the panel to the splash zone. A heavier moisture grade near the basin and a standard sheet elsewhere keep the cost sensible.
Paint for a smooth, sealed front. A filled and sanded panel takes a sprayed coat, and the finish closes the surface.
Veneer for a warm look. A sliced face matches the joinery, and the door takes a hard-wax oil that seals the grain.
Band the edges. An edge covers the veneer line and seals the rim, and the front reads as a solid piece.
Seal inside and out. A coat on the hidden faces keeps the humid air out, and the whole box stays sound.
The wet-room panels order as Commercial Plywood, and a painted front comes from MDF Board.
Seal the edges first. A cut edge takes moisture before a face, and a band or a paint closes it before the finish.
Choose a finish that heals. A hard-wax oil or a tough paint can be touched up, and a small mark stays small.
Keep water off the joints. A sealant bead at the counter and the wall keeps the water out, and the box stays dry.
Vent the room. A fan and a gap behind the unit lower the humidity, and the cabinet lasts for years.
| Part | Panel | Seal |
|---|---|---|
| Carcass | Moisture ply | Painted |
| Front | MDF or veneer | Coated |
| Back | Moisture ply | Sealed |
| Edges | Banded | Sealed |
A mirror and a light hang on the wall. A batten behind the panel gives a fixing, and the weight holds.
Hang on a solid fixing. A cabinet on a stud or a batten carries the weight of the counter and the basin.
Level the run first. A packer under a corner squares the unit, and the doors then hang true.
Seal around the basin. A bead of sealant at the counter keeps water off the wood, and the joint stays dry.
Let the room air. A fan and a gap behind the unit keep the humidity down, and the cabinet lasts.
The technical desk at HYY matches the moisture-grade panel and the thickness to the room.
Find the fixing before the hang. A stud or a batten carries the unit, and a proper anchor stands in where there is none.
Level the counter. A packer under a corner sets the unit true, and the basin drains where it should.
Finish the joint to the wall. A sealant bead or a trim closes the gap, and water cannot run behind.
Check the runners and the doors. A drawer and a door set after the hang run true for years.
Seal around the basin and the taps. The wet points sit on the counter, and a bead of sealant keeps the water on the top.
Silicone the joint, not the whole room. A bead at the wet edges keeps water out, and the rest stays dry.
Wipe a spill at once. A quick wipe keeps water off the edges, and the sealed core stays sound.
Check the sealant each year. A cracked bead lets water in, and a fresh line keeps the joint dry.
Keep the room ventilated. A fan and an open window lower the humidity, and the panel takes less of the damp.
Leave a gap behind the unit. An air space lets the wall and the cabinet dry, and it slows any damp.
Seal a fresh cut. A later hole for a pipe wants a seal, and the coating keeps the core protected.
Check the humidity each season. A damp cupboard door signals a leak, and a quick look catches it early.
Keep a spare piece. An offcut matches a repair, and a small patch blends into the finish.
Give the unit a back. A back panel squares the box and keeps the wall behind dry, and it hides the pipe run.
These answers cover the vanity questions that come up before the build.
Yes, when it is moisture-resistant and sealed. The veneers stay flat and hold a screw, and a sealed box takes the humid air.
A moisture-resistant or exterior-bonded sheet, sealed on every cut edge, and a marine grade where the splash is heavy.
A standard board can swell at a wet edge, while a moisture-resistant panel with sealed edges keeps its thickness and shape.
Seal the faces and every cut edge with paint, band, or epoxy, and keep water off the joints with a bead of sealant.