Our Location
5th Floor, Huake Center, Lanshan District, Linyi City, Shandong Province, China

5th Floor, Huake Center, Lanshan District, Linyi City, Shandong Province, China
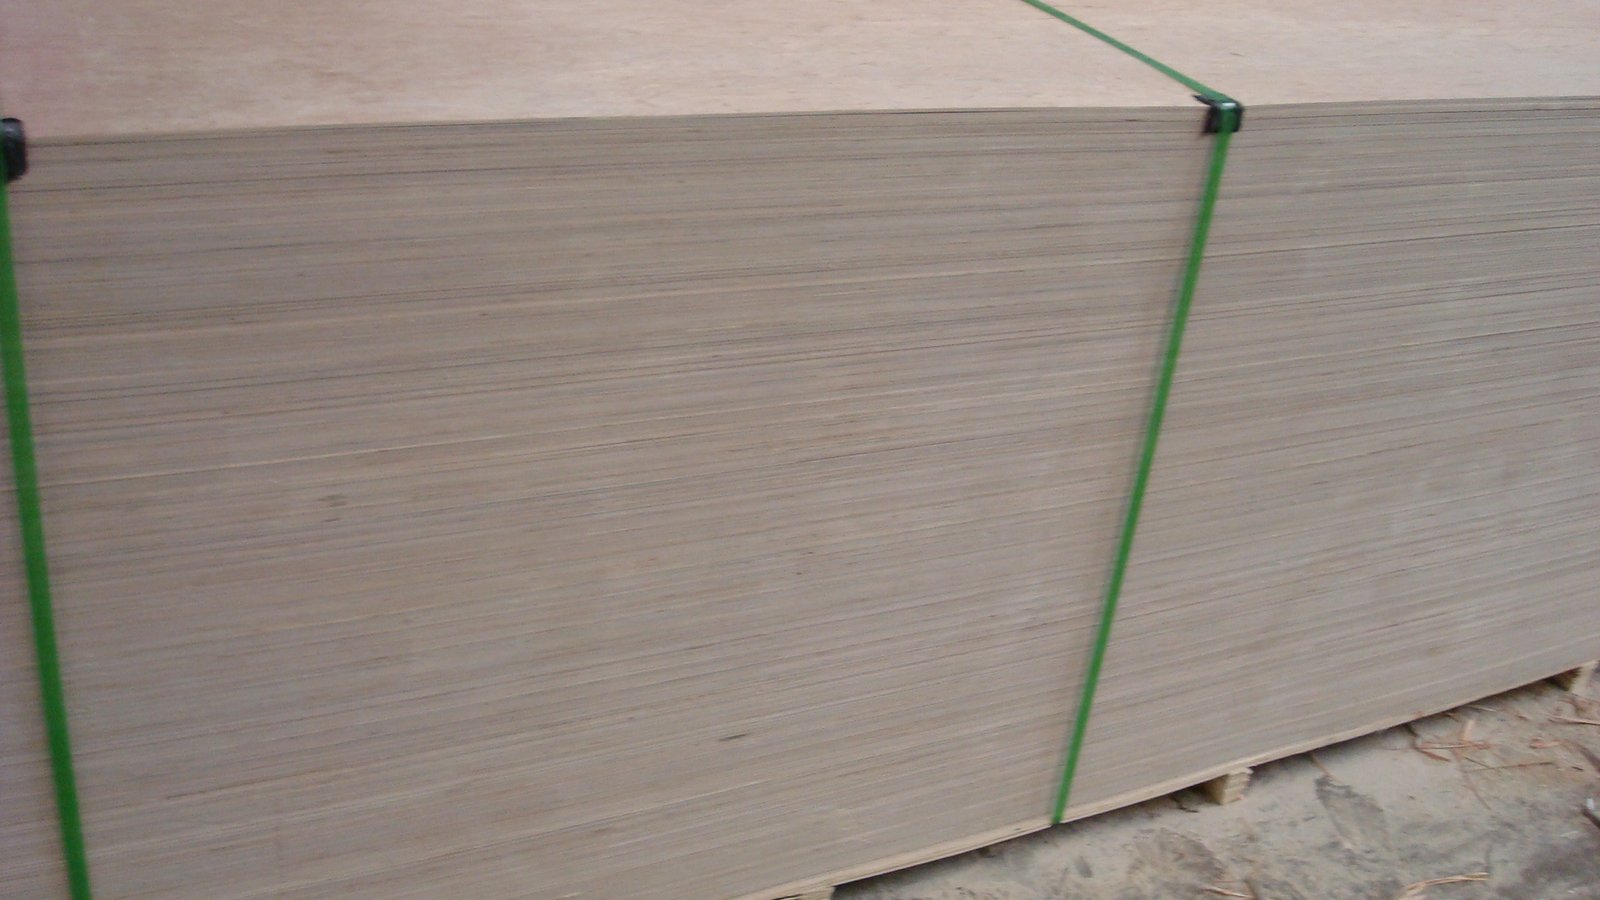
Building plywood wall panels turns a frame and a stack of sheets into a stiff, finished surface, and the order of the work decides how straight the result turns out. The panel braces the frame, carries the fixings of whatever sits on it, and takes the finish on the face the room sees. This guide walks through framing before the sheet, choosing the wall panel, fixing the sheets, and handling joints, openings, and the finish.
The wall also has to take a fixing. A shelf, a rail, and a cabinet each land on the panel, and a sheet chosen for its face alone can fail where a screw needs wood behind it.
The room sets the duty. A garage wall meets tools and a bump, a bedroom wall meets a picture hook, and the panel and the frame follow that difference.
Plan the services again on the face. A socket, a switch, and a vent each want a mark before the sheet goes on, and a hole cut later risks a stud.
The finish can be the panel. A sanded face that takes paint or a clear coat is a wall in itself, and it saves the step of a separate lining.
Work from the corner out. A first sheet set true at a corner gives every later panel a line, and a wall that starts square stays square.
The frame carries the wall. Studs set at a regular centre give the panel its fixing line, and a frame out of square passes the fault straight into the sheet.
Check the studs for crowning. A high stud pushes a ridge through the panel, and a chisel or a plane on the proud face brings the wall true before the sheet goes on.
Blocking goes in early. A backing for a shelf, a handrail, or a cabinet takes its place before the panel goes on, and a fixing later finds wood rather than a void.
Services run before the sheet. Cables and pipes chase through the frame while it stands open, and the panel then closes a wall that already carries its wiring and pipework.
Insulation packs the bays. A wall that takes insulation fills before the panel, and the sheet then holds the batts and the vapour line in place.
Level the plates first. A sole plate set level gives every stud a common base, and a high corner is easier to fix at the plate than at the sheet.
Space the studs to the panel. A frame set to the sheet width lands the joints on timber, and a spacing that ignores the panel leaves a seam in mid-air.
Nogging steadies the sheet. A row of horizontal timber between the studs stops a thin panel from drumming, and it gives a rail something solid to fix to.
Fire and sound change the build. A party or a garage wall meets a different requirement, and the frame and the panel both rise to meet it.
Thickness follows the stud spacing. A close frame runs a thinner sheet, and a wider centre wants a deeper panel to keep the wall flat under a knock.
| Wall use | Panel note | Why it works |
|---|---|---|
| Lining | Thin sheet | Flat face over close studs |
| Sheathing | Structural grade | Braces the frame |
| Workshop | Mid gauge | Takes a fixing load |
| Wet room | Sealed faces | Resists damp and splash |
Grade picks the face. A visible wall takes a sanded, even face, and a wall headed for a covering runs a plainer panel where the money stays in the core.
Definition: a wall panel is a sheet fixed to a frame to line, brace, or finish a wall, and its grade and thickness follow the duty the wall performs.
Sheet size follows the height. A panel cut to the wall height leaves one horizontal joint to handle, and a shorter sheet that stacks multiplies the seams to finish.
Moisture service picks the panel. A wet room or a garage wall wants a sealed face, and a dry room can carry a plainer sheet with a coating on top.
Sheet joints land on the frame. A panel that ends over a stud takes the fixing, and a butt between studs has nothing to hold the two sheets together.
Buy the panel with the frame in mind. A sheet whose height matches the wall saves a horizontal cut, and the offcut then feeds a shelf or a patch.
Check the face before fixing. A dent or a patch reads through a painted wall, and a marked panel belongs behind a covering rather than on show.
Mark the frame lines on the sheet. A panel that lands on a stud at every fixing travels square, and a sheet fixed into a bay alone loosens at the edge.
Fix the wall in this order:
Spacing follows the panel. A thin sheet on a close frame takes more fixings than a heavy sheet on a wide one, and the schedule states the line the wall needs.
Leave a small gap between sheets. A hairline at each joint lets the panel move with the seasons, and a tight butt that binds buckles the wall at the seam.
Sink and fill the heads. A screw set just below the face takes filler cleanly, and a proud head telegraphs through the finish once the paint dries.
Start from the door. A sheet set true alongside an opening keeps the reveal straight, and the panels then run square to the frame from there.
Use the right fixing length. A screw that only reaches the backing behind holds nothing, and the length has to pass through the panel into wood.
Keep the fixing line true. A chalk line across the studs sets the screw row, and a straight row of heads reads as a deliberate pattern on the wall.
Land the joints on a stud. A butt that meets over timber has something to fix to, and a seam that floats between studs opens the first time the wall takes a knock.
Cut openings from the panel face. An outlet or a window marked from the room side lands where it shows, and a hole cut from the back often sits off the frame.
Brace the corners. A panel that runs around a corner ties two walls together, and the sheet that stops short leaves the frame to rack on its own.
Fill and sand the seams. A filler feathered over the joints and a light sand block the edges, and the wall then takes paint or a covering without a line.
The finish suits the room. A painted wall suits a smooth face, and a clad wall pairs the panel with a product such as Commercial Plywood while a paint-grade surface comes from MDF Board.
The technical desk at HYY matches the panel grade and thickness to the stud spacing and the wall duty noted on the drawing, so the sheets arrive ready to fix.
Trim the openings last. A reveal cut after the sheet is fixed takes the architrave true, and a hole cut first often sits off the line.
Seal a wet-room wall. A coating or a tanking layer over the panel keeps splash and steam off the core, and the sealed surface protects the frame behind.
Leave one panel loose for access. A screwed sheet over a stopcock or a junction takes a screwdriver, and the wall keeps its finish as it opens.
Sheeting over a crowned stud. A high stud pushes a ridge through the panel, and the finish returns the fault across the whole wall.
Butting the sheets tight. A joint without a gap binds as the panel moves, and the seam buckles where it meets the stud.
Missing the frame with a screw. A fixing that lands between studs holds nothing, and the corner works loose under a knock.
Closing the wall before the services. A cable or a pipe left out means a cut in a finished face, and the repair always shows.
These answers cover the wall-building questions that come up before the job.
Match the stud spacing. A close frame takes a thin lining sheet, and a wider centre or a sheathing job wants a deeper panel that stays flat under load.
It can, finished or clad. The panel takes paint, paper, or a covering, and it holds a fixing for shelves and rails that a plasterboard wall would need a plug for.
In a heated building, usually yes. The barrier goes on the warm side of the frame, and the panel then closes a wall that sheds moisture the right way.
Fill and feather them, or sit a batten over the seam. A joint on a stud fills cleanly, and a batten turns every seam into a deliberate feature.