Our Location
5th Floor, Huake Center, Lanshan District, Linyi City, Shandong Province, China

5th Floor, Huake Center, Lanshan District, Linyi City, Shandong Province, China
Plywood H clips look like small hardware, yet they carry real work on a roof deck. The clip slides over the edge of two adjoining sheathing panels and holds those edges level between the rafters, where the panel would otherwise cup and lift. This guide explains what plywood H clips do, where the span rules send them, and how to space and nail them so the roof deck stays flat through the covering season.
A roof panel spans from rafter to rafter, and its weakest line sits between the supports. The unsupported edge dips under traffic and weather, and the two panels at a seam move against each other.
An H clip bridges that seam. The clip fits over both panels in the shape of the letter H, ties the two edges together, and shares the load from one panel to its neighbor.
The clip also stops the edge lift. Wind and humidity pull the panel edge up at the seam, and the clip holds both edges level so the deck stays flat under the underlayment.
Definition: a plywood H clip is a small galvanized connector that slides over the edges of two adjoining sheets at the rafter line, aligning the surfaces and stiffening the unsupported joint.
Roof codes and many standards require the clip at specific spans. The rule appears in the span table as a note that tells the framer where the panels need the edge connector.
The deck sheet carries the working load between the rafters. A rated sheet spans the support spacing at a rated deflection, and the clip adds the edge connection the table expects at the long span, so the two specs read together.
Snow and live loads change the usable span. A framing plan that reads the local snow depth and the wind zone settles the rafter spacing first, then the clip rule follows that settled grid.
The span decides the clip. Each rated panel thickness carries a maximum rafter spacing, and beyond that spacing the unsupported edge wants the clip to hold the seam.
| Panel thickness | Rafter spacing | H clip use |
|---|---|---|
| 12 mm | Close spacing | Usually not required |
| 15 mm | Mid spacing | Check the span table |
| 18 mm | Maximum spacing | Clip at mid-span |
The clip sits between the panels where the rafters run at the maximum spacing. A framer places one clip between each pair of sheets along the seam, and more clips follow the longer seams.
The clip does not replace a rafter. It ties the edges together across the unsupported run, yet the rafter under the panel still carries the load, so the clip works with the framing, not instead of it.
Wind zones and snow loads change the table. A heavy snow region or a high-wind coast often calls for the clips at shorter spacing, so the local building code should answer the layout question.
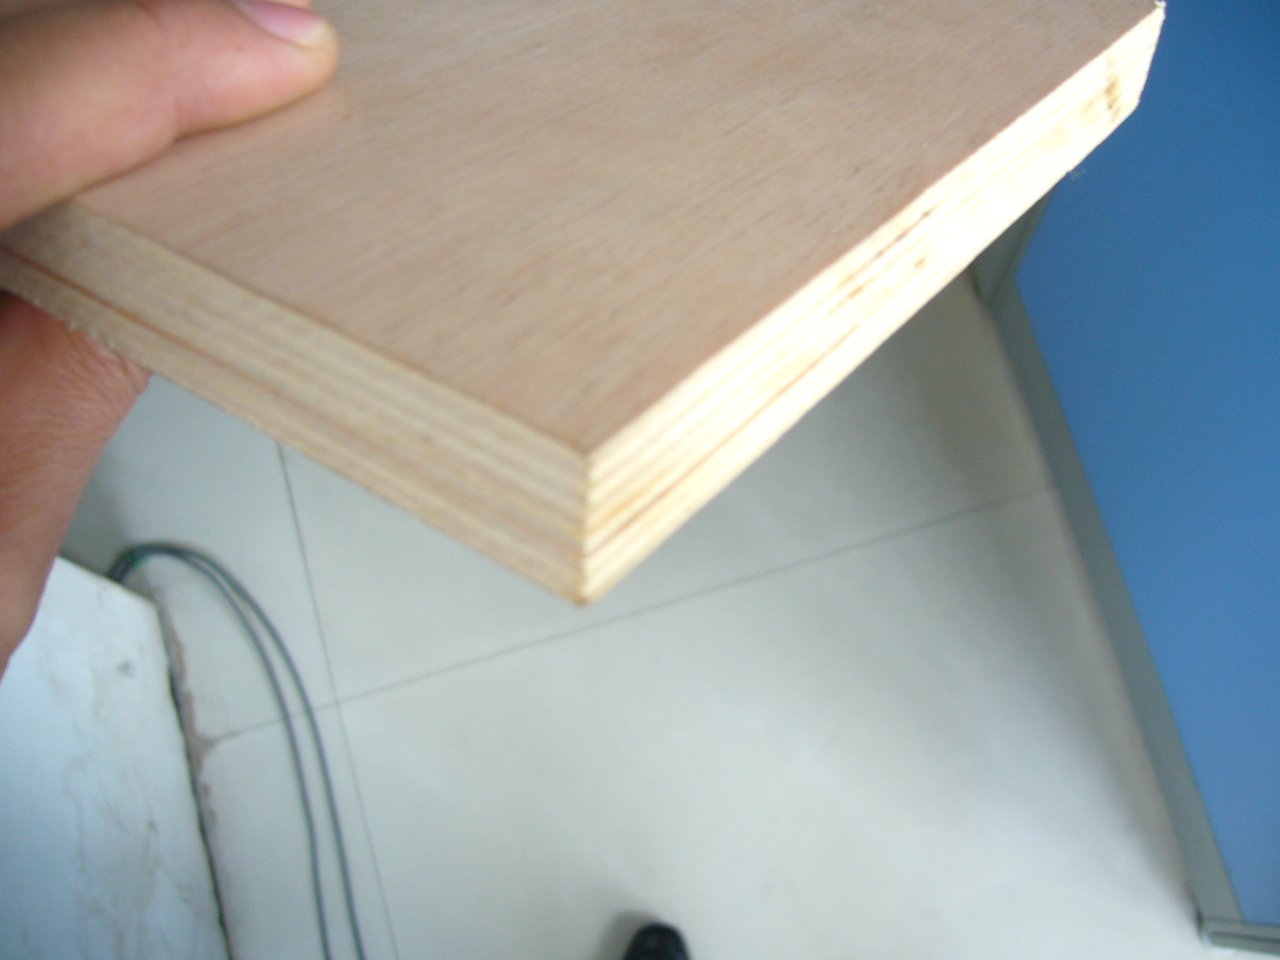
The sheathing sheet under the clips earns its rating, and builders commonly lay Commercial Plywood for the roof deck line.
Definition: H clip spacing is the along-seam distance between the H clips that hold two sheathing edges level, and that distance follows the span table and the panel rating that the roof plan carries.
A clip every sheet pair works at the common spans. Longer seams take a clip at each sheet joint, and the crew that lays the clip at every meeting point along the seam keeps the deck even from ridge to wall.
H clips come in sizes that match the panel thickness. The clip lip fits the edge of a 12, 15, or 18 mm sheet, so the loose clip stock should match the panel the crew is laying.
Spacing follows the seam and the span table. The typical rule places a clip between the sheet edges at the support intervals where the table calls it, and the framing plan marks those points before the deck goes down.
The clip needs the right fastener. Roofing nails or the screws the plan calls for drive through the clip tab into the panel edge, and the nail length should reach the framing beneath.
Do not over-nail the clip. The clip holds the seam, not the whole sheet, so the framing plan sets the clip fasteners and the panel field nailing as two separate lines.
Galvanized clips shrug off the moisture. A coated or galvanized H clip survives the open deck season without rust streaks on the sheathing, and the finish follows the weather the deck waits through.
The clip lip should sit flush with the sheet face. A clip that rides high under the underlayment shows up as a ridge through the felt, so the crew drives each sheet home before the clip nails go in.
Weather waits for a dry deck pass. Once the clips set and the field nails land, the underlayment rolls over a flat surface, and the roofing follows without a hump at the seam line.
Install the clip as the crew lays the sheet. Slide the clip over the edge of the first panel, butt the second panel against it, and set the sheet on the rafters.
Align the surfaces as the clip closes. The clip lip lines the two panel faces level, so a slight height difference at the seam disappears as the crew drives the sheet down.
Check the seam at the rafter. The clip belongs where the panel edges pass over the support, so the crew lays each sheet to the rafter lines and the seam lands on the joists.
Seams that run perpendicular to the rafters take a different detail. A blocking strip or a structural connector handles that joint, and the H clip stays on the parallel seams the table governs.
A visual pass closes the row. Walk the deck, confirm each clip sits at its mark, and fix any that ride high before the underlayment rolls over the surface.
The clip stock should match the framing season. Galvanized clips survive the open deck, the rain between pours, and the winter lay, so the buyer reads the finish line before the order buttons up.
Order the clip count from the layout. Count the seams, the span points, and the sheets, then add a small spare bag for the lost ones that fall between the rafters.
Use one purchase list for the deck:
The rated deck sheet pulls the load, and the Film Faced Plywood line also carries the wet build phase where the deck waits for cover.
A sample and a plan review settle the detail. Read the clip across a panel edge, walk the span table, and the deck layout answers the questions before the first sheet lifts off the stack.
The technical desk at HYY pairs the sheathing grade with the span plan, so the deck sheet and the clip stock arrive ready to lay.
The deck flatness shows up in the ceiling and the roof line. A clip-held seam stays level under the foot traffic and the felt, so the small bracket earns its place in the framing budget.
The clip kit should ride with the sheet stack. A framer who keeps the clip box at the ridge ladder fits the brackets as the rows climb, and the deck closes with the connectors already in place.
A wet deck checks the galvanizing. A coated clip stays bright through a rain spell, while a bare steel bracket rusts onto the sheathing face and stains the underlayment line.
The deck shows its build line at the seam, so the clip spec and the fastener bag should travel with the sheet order from the mill.
These answers cover the roof deck questions that framers ask when they first meet the H clip rule.
Only where the span table calls them. The rule marks the unsupported edges at the maximum rafter spacing, and closer framing often skips the clip line.
Match the clip lip to the panel thickness. A clip for 18 mm sheathing fits that sheet edge, and a thinner panel wants the size that closes its own lip.
At a normal span, yes. The clip ties the sheet edges and shares the load, while a crew that blocks every seam wastes material and framing time.
Yes. The clip bridges the edge of either panel type at the seam, and the span table rule applies the same way to both deck sheets.