Our Location
5th Floor, Huake Center, Lanshan District, Linyi City, Shandong Province, China

5th Floor, Huake Center, Lanshan District, Linyi City, Shandong Province, China
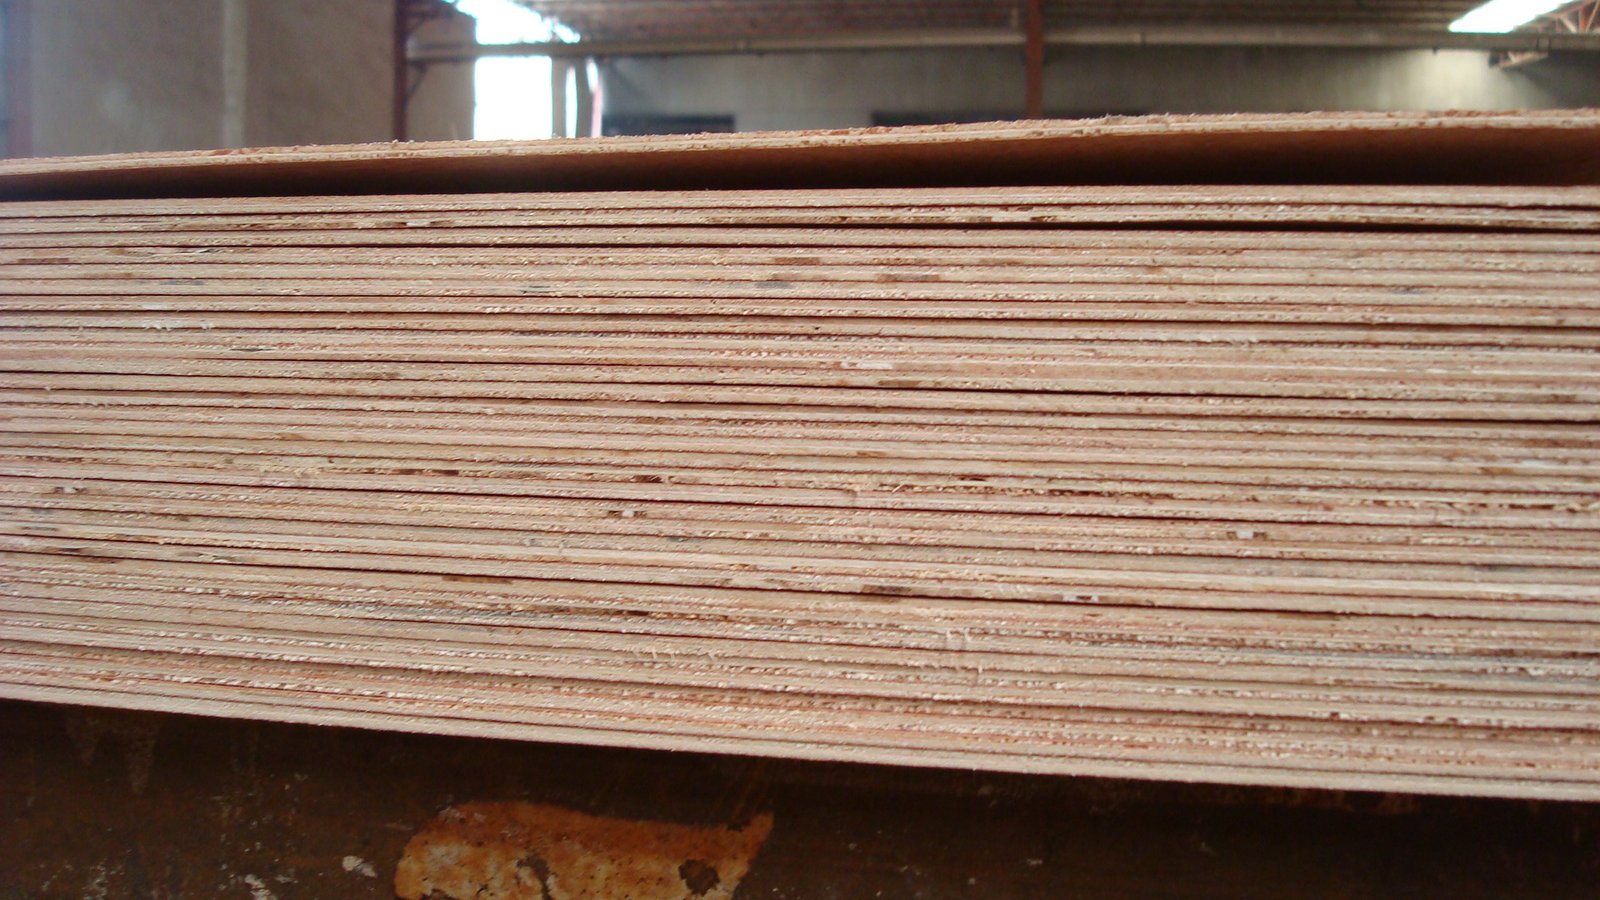
A plywood Z bar covers a step in the panel that a flat trim cannot: one leg sits on the upper face, the web crosses the edge, and the second leg laps the face below. The profile seals a splice, protects an exposed edge, or finishes a change of level in one formed strip. This guide explains what the Z profile does, the sizes and materials it ships in, how to fit it cleanly on plywood, and the roof, wall, and joinery details where a plywood Z bar earns its place.
The profile earns its name from the section. Seen at the end of the bar, the two legs and the connecting web draw a Z, and every job the trim does follows from that shape.
Buyers specify it beside the panel rather than after it. A step left to the joiner’s imagination ends as a packed joint, and the bar sized on the drawing arrives to cover it.
It replaces an awkward detail. The cover strip, the flashing, and the filler that used to meet at a change of level collapse into one formed piece with one fixing line.
The inspection reads clean too. A supervisor checking an edge sees a continuous profile instead of two cut ends and a bead of sealant doing the work of a proper trim.
The Z closes a stepped joint. Where one panel sits higher than the next, the web bridges the step and both legs cover the faces, and the line reads as one deliberate detail.
Definition: a plywood Z bar is a Z-shaped edge trim whose two legs clamp opposite faces of a step or overlap, sealing the edge and the joint between two surfaces.
It sheds water at the change of level. A profile that laps downhill keeps weather off the cut edge, and the step that used to hold water now drains over the web.
It stiffens the edge it covers. The formed section adds a rail along the panel rim, and a sheet that flexes at the corner gains a straight, hard line to hold.
It hides two edges at once. The splice that would show plies and filler on both sides arrives covered, and the installer leaves one clean break line instead of two.
Weather direction picks the orientation. The lap that faces away from the driving rain keeps water off the joint, and a bar set backwards funnels water behind the web where it cannot escape.
The web can carry a seal. A bead placed under it at the step compresses as the fixing draws home, and the joint under the profile ends up sealed without a visible line.
Repairs stay localised. A damaged length unfixes at the fasteners, a fresh bar goes on, and the detail under it never sees the work that replaced it.
The section also registers the level. A bar set at a chalk line keeps the step straight across the run, and the eye reads the profile rather than the panel it covers.
Leg length decides the coverage. A short leg suits a thin sheet, and a deep leg laps a thicker panel with enough overlap to hide the cut line completely.
| Part of the Z | What it meets | Fit note |
|---|---|---|
| Upper leg | Top face | Laps flat with the surface |
| Web | The step or edge | Sets the height of the joint |
| Lower leg | Lower face | Covers the second cut edge |
| Grip zone | Panel thickness | Sized to clamp without a gap |
Material follows the exposure. PVC handles weather and washing without a coat, aluminium takes impact and heat, and a timber Z matches the face where the trim should disappear.
Gauge matters on metal. A thin foil kinks under a thumb, and a stiffer formed section holds the line across a long run without a wave at each fixing point.
Stock lengths arrive straight and protected. The run measured once, the nearest length ordered, and the joints set over a support all keep the bar true to the panel.
Definition: leg clearance is the space the web leaves for the step it crosses, and a profile with too little clearance rocks on the high point instead of sitting flat.
Finish options track the trim family. Satin, mill, and powder colours match the hardware line, and a timber section takes the same oil or lacquer as the panel beside it.
Punching and pre-drilling differ by material. A metal bar wants a cleared hole so the screw pulls flat, and a plastic bar prefers a pilot that will not craze the leg.
Order the accessories with the bar. End caps, corner pieces, and sealant sized for the profile save a second order once the first run reaches the wall.
The faces go clean first. Dust, resin, and a high ply at the joint stop the bar from seating, and a pass with sandpaper and a wipe fixes both in a minute.
Dry-fit shows the direction. The bar goes on with the lap pointing away from the weather or the sight line, and a profile set backwards sheds water into the joint.
Fit the bar in this order:
Fixings stay discreet. Small screws or adhesive along the legs hold the bar without splitting the plywood rim, and a fixing driven too close to the edge lifts the ply.
Adhesive backs the grip on long runs. A thin bead under each leg takes the movement of a temperature swing, and a friction fit alone lets the bar creep.
Corners and ends get a plan. A mitre closes an outside corner, and a capped end stops the profile reading as a cut-off piece at the last panel.
Sealant under the web takes the weather. A continuous bead at the step, compressed by the fixing, closes the joint where the profile cannot reach the water itself.
Fixing spacing follows the material. Closer on a thin metal that would oil-can, wider on a rigid section, and the line of screws stays straight along the leg.
Set-outs keep the joints deliberate. A bar joint lands over a support rather than mid-air, and the butt that meets there reads as a set-out line instead of a shortage.
Roof and deck edges take the profile. The sheet that steps down to a fascia laps under the bar, and the change of level sheds water over the web rather than into the core.
Wall and ceiling reveals use it at the break. A liner that sits proud of the board finishes with the Z, and the shadow line looks set out rather than patched.
Shopfitting runs it at the display step. A riser, a plinth, or a two-level counter takes the bar where the edge would otherwise show plies to the customer.
Doors and hatches cover the meeting edge. The stop that two panels share hides under the profile, and the impact of the close lands on metal rather than veneer.
The trim pairs with the panels below it. A coated face orders as Melamine Plywood, and a painted build takes MDF Board where a smooth edge shows under the bar.
The technical desk at HYY matches the Z profile to the panel thickness and the step height on the drawing, so the bar arrives with legs that lap as specified.
Garage and workshop details take the bar at the roller line. The sheet that ends at the opening finishes under the profile, and the traffic of doors and tools never chews the rim.
External cladding runs it at the break. A panel that steps to a window reveal laps under the bar, and the sill line sheds water over the web instead of into the core.
Joinery projects keep it indoors at the feature. A media wall, a display plinth, or a two-level counter uses the Z where the step should read as steel rather than a timber edge.
These answers cover the profile questions that come up before the order.
Covering a stepped joint between two surfaces. The legs lap both faces, the web bridges the step, and the edge under the profile stays sealed and finished.
Measure the panel thickness for the grip and the step height for the web. The legs then lap each face far enough to hide the cut line without hanging over.
Outdoors, yes. A bead along the joint under the web keeps weather out, and the adhesive under the legs stops the bar moving through a season of temperature swings.
It can, with the right edge. Those cores hold a fastener differently from ply, so adhesive with light fixing suits them, and the edge should be sealed before the bar goes on.